
-
Sign Up! To view all forums and unlock additional cool features
Welcome to the #1 Explorer ST Forum and Explorer ST community dedicated to Explorer ST owners and enthusiasts. Register for an account, it's free and it's easy, so don't hesitate to join the Explorer ST Forum today!
What Have You Done To Your Explorer ST Today
- Thread starter TNSmokee
- Start date


")
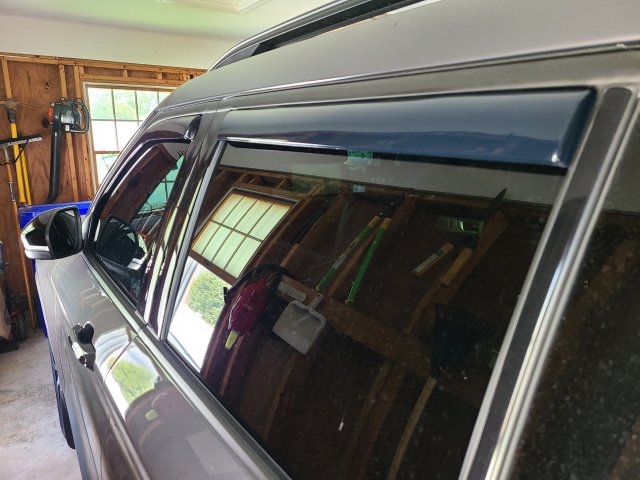
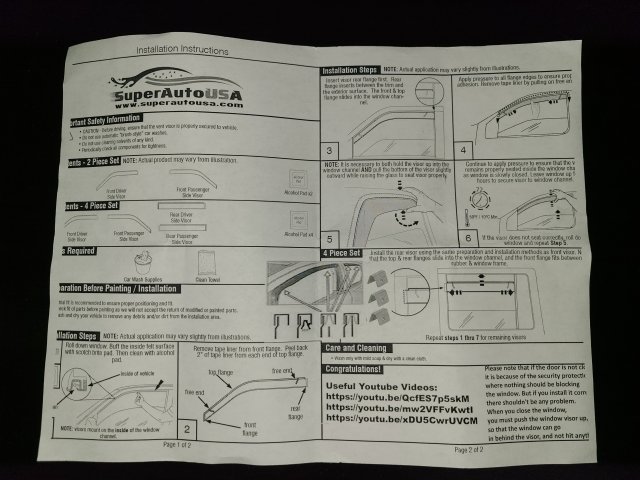
Added in-channel vent visors purchased from SuperAutoUSA.
Installation Notes:
Driving Notes:
Installation Notes:
- In order for the windows to roll up with no issues, rear flanges from the first row visors and front flanges from the second row visors have to be wedged between the gloss black B Pillar trim and the rubber trim. All other flanges slide into the window channel.
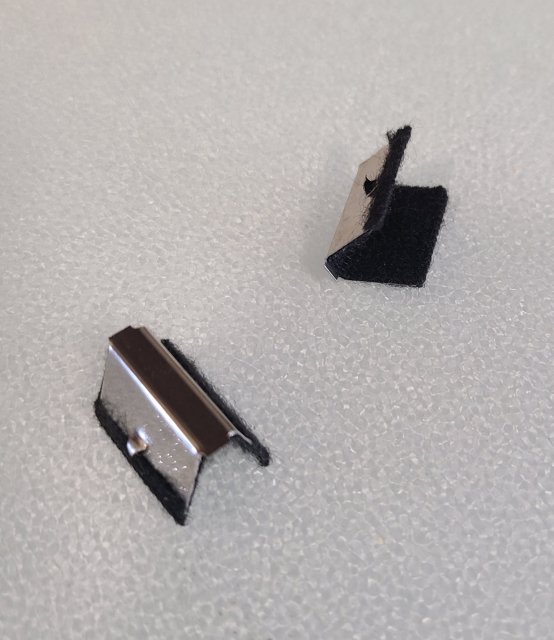
- Tesa tape was added to the metal retaining clips in order to prevent potential window scratching/window tint marring.
- When installing the retaining clips, the barb side contacts the rubber trim and the smooth side contacts the visor.
Driving Notes:
- No significant increase in wind noise when driving city speeds.
- At highway speeds, there is a slight increase in wind noise. With music playing though, the increased wind noise isn't noticeable.
Attachments
-
 3.3 MB Views: 85
- Messages
- 413
- Reactions
- 384
- Points
- 67
- Location
- Rancho Santa Margarita, CA, USA
- Vehicle
- 2020 Explorer ST
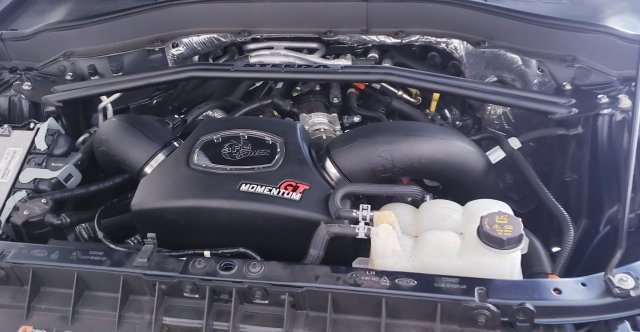
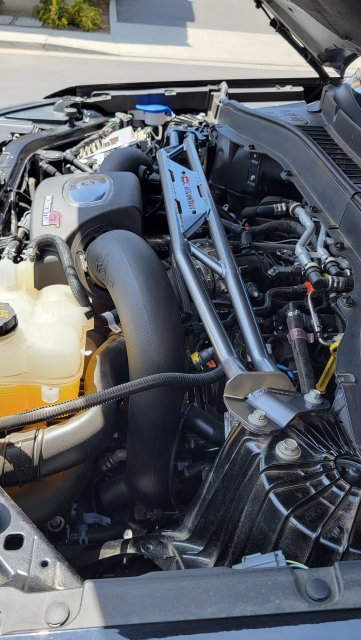
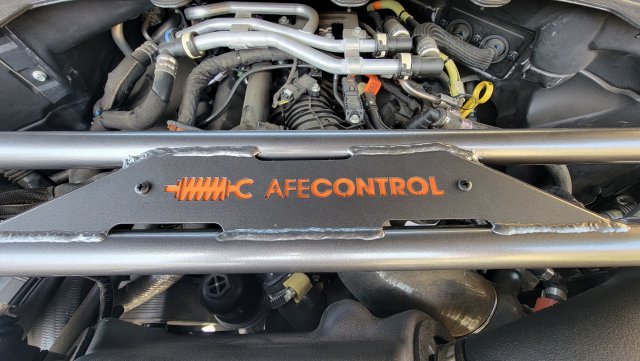
Installed my AFE Intake. Thanks Tyler and Lethal Performance! Made sure I had a #20 hose clamp on hand to replace the factory clamp on my bypass hose. Easy install, except the bypass clamp and driver's turbo clamp! Between the lack of room and my right hand still healing from a metacarpal break, those weren't fun.
-
 3
3
- Show All
Installed a battery pack for extended Park Mode and isolation from the car's battery, for my THINKWARE Q800PRO dash cam. Easy peasy if you already have the hardwire cable installed to your fusebox--you just need ACC (spare fuse 37) and ground. I have the unit sitting underneath the driver's seat.
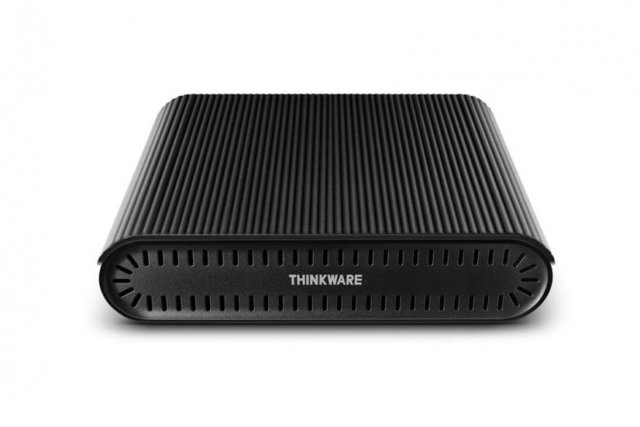
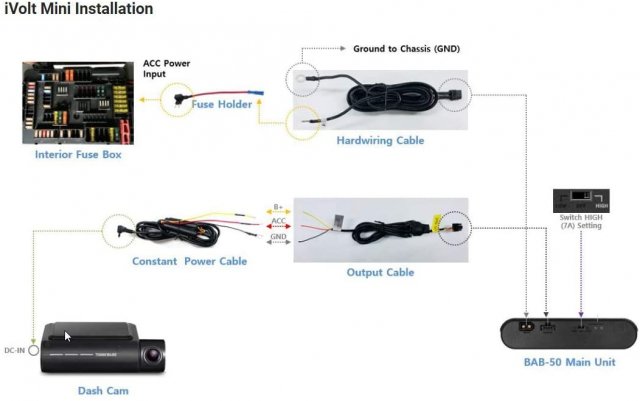
https://www.amazon.com/THINKWARE-iVolt-Mini-External-Battery/dp/B07YGVQ1V3?ref_=ast_sto_dp
Edit: price seems to fluctuate. I paid $209.
https://www.amazon.com/THINKWARE-iVolt-Mini-External-Battery/dp/B07YGVQ1V3?ref_=ast_sto_dp
Edit: price seems to fluctuate. I paid $209.
Last edited:
-
3
- Show All
Put in my new XS battery with the charging port idea I stole from @UNBROKEN
Then I got the Check Charging System soon message. Worried I screwed something up with that bogus plate that mounts on the positive post. Turned out I missed reconnecting a small connector on the ground connector. Whew!
Then I got the Check Charging System soon message. Worried I screwed something up with that bogus plate that mounts on the positive post. Turned out I missed reconnecting a small connector on the ground connector. Whew!
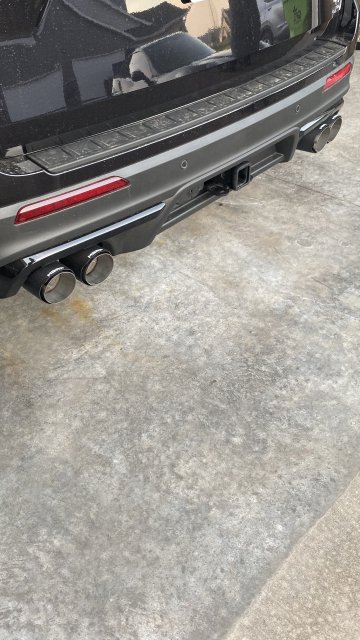
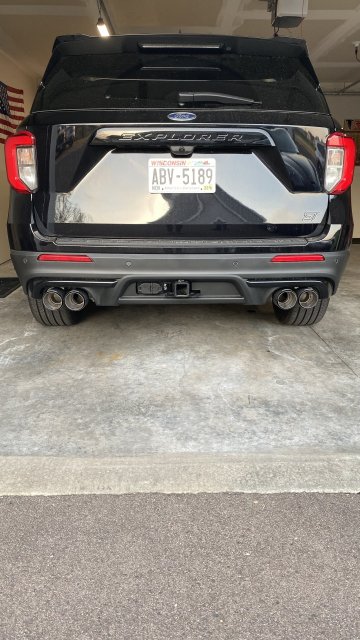
Got the exhaust yesterday and couldn't wait for the weekend! Easy install and definitely adds A LOT of character to the ST!!
Attachments
-
 1.9 MB Views: 81
 -
 1.7 MB Views: 82
 -
 2 MB Views: 80
-
2
- Show All
Explorer ST Posts
-
-
-

-
-

-

-

-
 Welcome to the Explorer ST Forum, please post an introduction
- Latest: Nascarbilly
-
