-
Sign Up! To view all forums and unlock additional cool features
Welcome to the #1 Explorer ST Forum and Explorer ST community dedicated to Explorer ST owners and enthusiasts. Register for an account, it's free and it's easy, so don't hesitate to join the Explorer ST Forum today!
What Have You Done To Your Explorer ST Today
- Thread starter TNSmokee
- Start date
So I got it finished and installed... Here are some pictures as well as the template. For the template the dotted lines are where it is bent and in the bottom right is the side view so you can see the angles...
View attachment 24717
View attachment 24718
View attachment 24719
View attachment 24720
View attachment 24721
Just a template redraft note:
The 31" length is fine. As far as the 6" width, maybe you could show that the 6" is the total width and in the same ruler, mark the measures of the indents and the dotted lines. The dotted lines show the area of bending but not where they are in reference to the width.
Also, what material did you use? I was thinking of doing the same with aluminum as it would be easier to manipulate than steel and less prone to rust.
Thanks!
Just a template redraft note:
The 31" length is fine. As far as the 6" width, maybe you could show that the 6" is the total width and in the same ruler, mark the measures of the indents and the dotted lines. The dotted lines show the area of bending but not where they are in reference to the width.
Also, what material did you use? I was thinking of doing the same with aluminum as it would be easier to manipulate than steel and less prone to rust.
-
3
- Show All
Installed my J&L oil Catch can, and new Reverse lights, turn signals and license plate lights from Houston Speed Freaks.. the are nice and bright just have to wait for darkness to see how they perform... Catch can was stupid easy took more time to find a 10mm socket than to do the install. I did notice my PCV hose was very clean looking, I didn't notice any oil or oily residue in it. over all a very productive 40 mins.
-
1
- Show All
Spent 2 1/2 hrs under the hood today after the hose blew off the right turbo last night. The hose clamp screw was in such a ridiculous position that I had to take the whole piping off so I could reset the orientation of the clamp. It was one of those clamps that was crimped onto the hose so you couldn't turn it to expose the screw. Had to uncrimp it and recrimp it to a position where I could even get a socket on it. Of course, it was in one of those unreachable tight spots so you could barely turn a ratchet. In fact 'all' the clamps involved had their screws in unreachable areas under all the items I had to remove to get to them.
Literally had to lay on the engine to access the whole job. This also happened with the left turbo a while back. I'll have to talk to the mechanic who installed the turbos about that.
Literally had to lay on the engine to access the whole job. This also happened with the left turbo a while back. I'll have to talk to the mechanic who installed the turbos about that.
-
1
- Show All
- Messages
- 1,036
- Reactions
- 589
- Points
- 162
- Location
- East Freetown, MA
- Vehicle
- 2020 Explorer ST, Silver Spruce Metalic
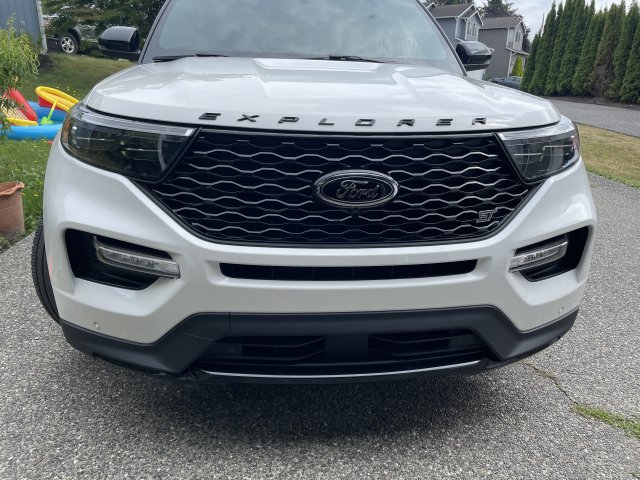
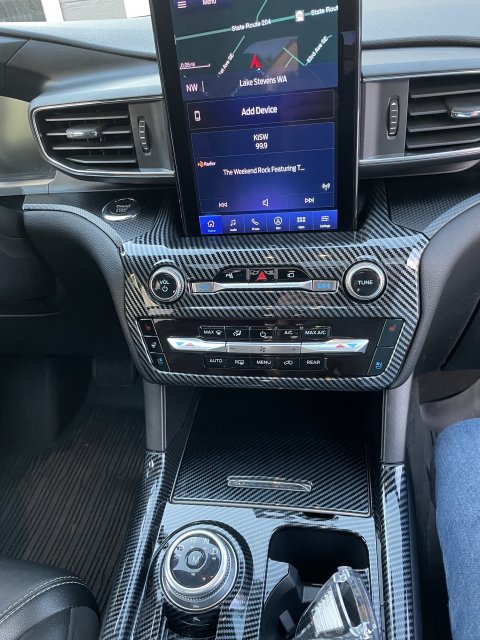
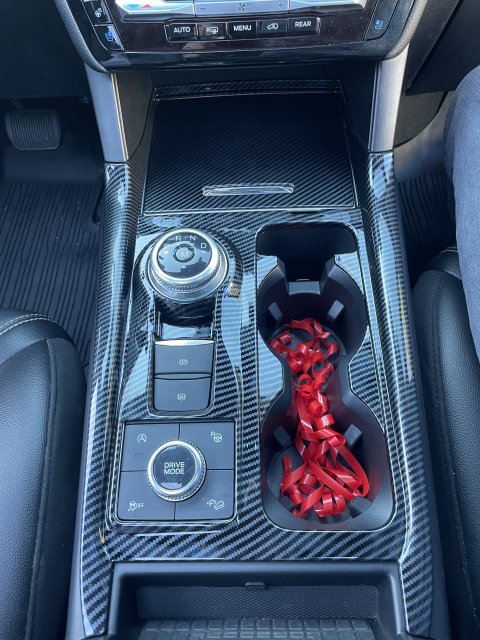
Been loving the ST so far. Here are some little things done so far (and my JXB bushing insert, upgraded diff hardware, and AWR brace are on their way)
- emblem inlays
- black ovals
- interior protectors
- hardwired radar detector
- rain guards
- metal pedals
- weather tech folding cargo liner
- cup holder hero pack red trim
- emblem inlays
- black ovals
- interior protectors
- hardwired radar detector
- rain guards
- metal pedals
- weather tech folding cargo liner
- cup holder hero pack red trim
Attachments
-
2.4 MB Views: 37
-
1.7 MB Views: 43
-
2.1 MB Views: 40
-
1.3 MB Views: 42
-
2.4 MB Views: 44
-
1
- Show All
- Messages
- 1,036
- Reactions
- 589
- Points
- 162
- Location
- East Freetown, MA
- Vehicle
- 2020 Explorer ST, Silver Spruce Metalic
Been loving the ST so far. Here are some little things done so far (and my JXB bushing insert, upgraded diff hardware, and AWR brace are on their way)
- emblem inlays
- black ovals
- interior protectors
- hardwired radar detector
- rain guards
- metal pedals
- weather tech folding cargo liner
- cup holder hero pack red trim
- emblem inlays
- black ovals
- interior protectors
- hardwired radar detector
- rain guards
- metal pedals
- weather tech folding cargo liner
- cup holder hero pack red trim
Sent from my iPhone using Tapatalk
Can I ask how much the repair cost you? Trying to gauge as I just got a ding the other day.
You can definitely find cheaper body shops, the 950 is more on the high end
-
1
- Show All
Paid $950. Unfortunately, the dent was too deep and the paint was taken off down to the metal for a paintless dent repair. Body shop had to disassemble the entire door to remove the dent and then fully paint front and back doors to blend the iconic silver so you wouldn't be able tell there was a repaint.
You can definitely find cheaper body shops, the 950 is more on the high end
You can definitely find cheaper body shops, the 950 is more on the high end
I thought that was standard procedure these days so it surprises me that your body shop would also have to repaint your back door to match their paint. It seems like unneeded cost.
Thank you. Next, post pics of the new part you get and the install pic.!
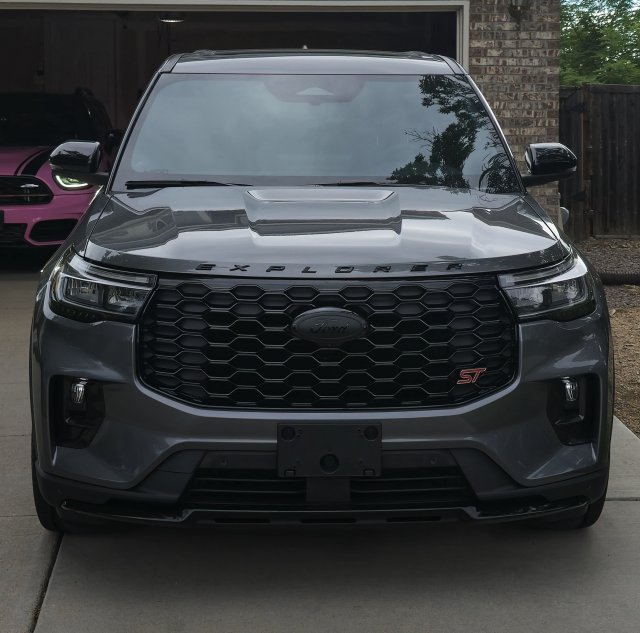
Roof rail delete is almost done, but Ford had a defect where one bracket was missing a bolt during the injection process, waiting for a replacement that will actually bolt to the vehicle.
Attachments
-
10.2 MB Views: 30
-
4.3 MB Views: 27
-
8.8 MB Views: 27
-
4
- Show All
Thanks Broose! I'm about to do that tomorrow as the d*mn thing blew off again tonight!
I replaced all mine with T-Bolt clamps. They grip better and you can position them so you can access the heads easier.
Sent from my iPhone using Tapatalk
Sent from my iPhone using Tapatalk
So I got it finished and installed... Here are some pictures as well as the template. For the template the dotted lines are where it is bent and in the bottom right is the side view so you can see the angles...
View attachment 24717
View attachment 24718
View attachment 24719
View attachment 24720
View attachment 24721
View attachment 24736
PLEASE NOTE THAT THE TEMPLATE IS MIRRORED… THE TOP SHOULD BE THE BOTTOM.
PLEASE NOTE THAT THE TEMPLATE IS MIRRORED… THE TOP SHOULD BE THE BOTTOM.
Sent from my iPhone using Tapatalk
-
1
- Show All
- Messages
- 1,036
- Reactions
- 589
- Points
- 162
- Location
- East Freetown, MA
- Vehicle
- 2020 Explorer ST, Silver Spruce Metalic
Do you remember if you used 2", 2 1/4" or 2 1/2" T bolts for your turbo?
-
1
- Show All
They were 67-75mm which is about 2 1/2 - 3". There is a small one that is 57-65mm that goes on one of the turbos. I forgot which one. I think it was the passenger side but I'm not positive.

