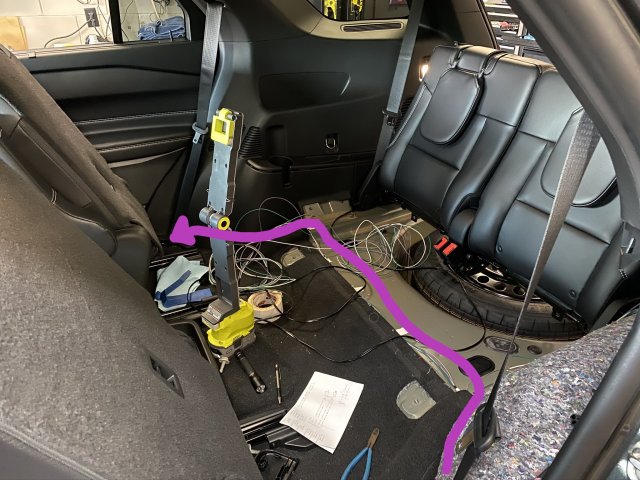
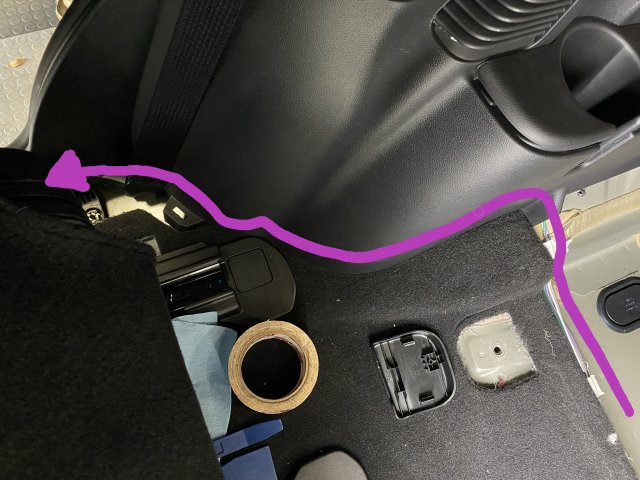
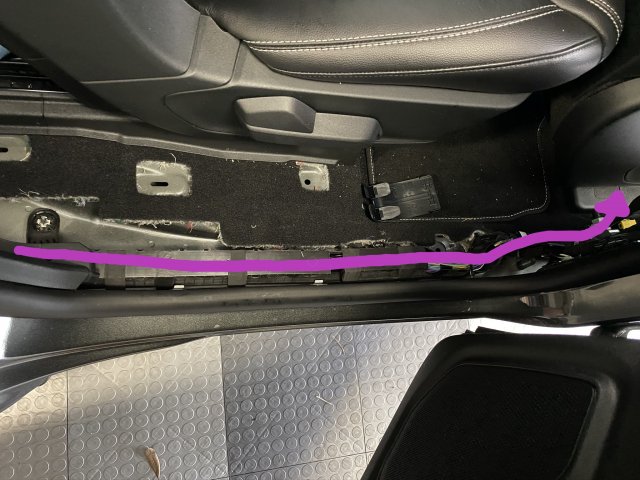
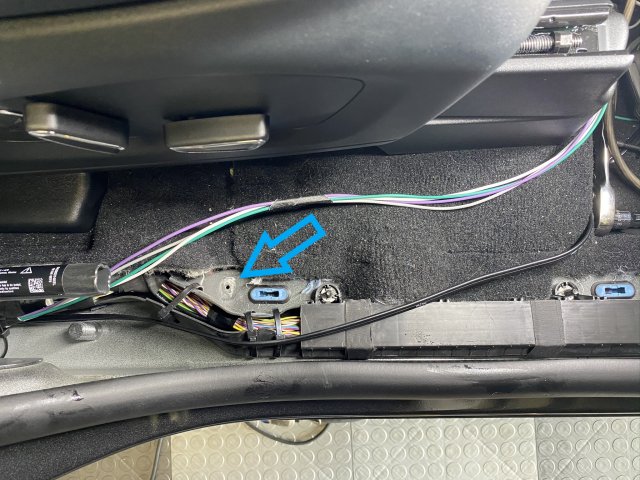
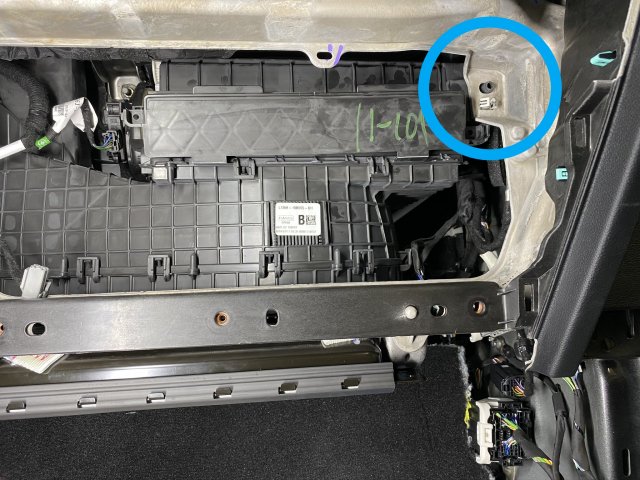
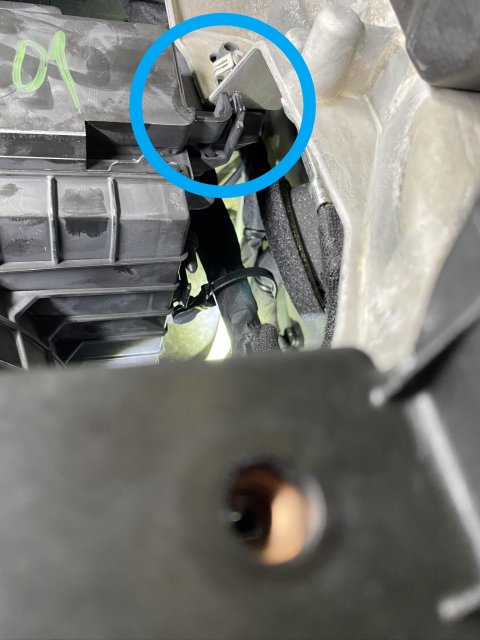
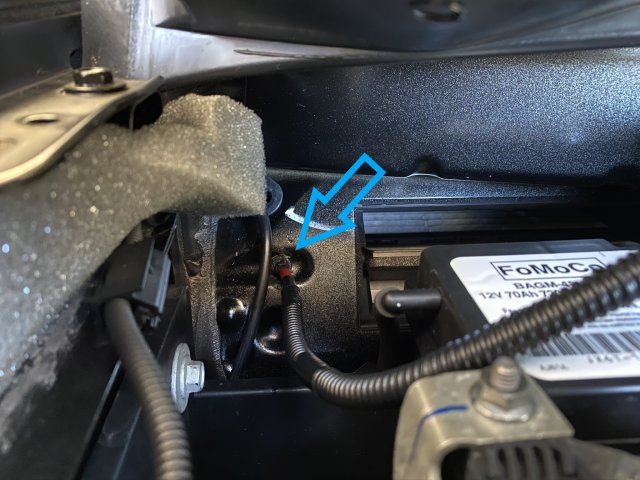
Okie dokes. Long story short, I wasn't thrilled with the bump from the OEM sub. It was okay, but I wanted more. I considered swapping out the OEM one, but then I'd have to figure out the OEM amp, is that enough for the new sub, blah blah blah. Anyway, I decided to just tack on a new amp and sub, leave the OEM one in place and functional, and call it a day.
The amp I used is a Rockford Fosgate T500X1br mono amp, it puts out 500W RMS @ 1 Ohm / 300W RMS @ 2 Ohm.
The sub is a JL Audio 10" shallow sub (300W RMS @ 2 Ohm).
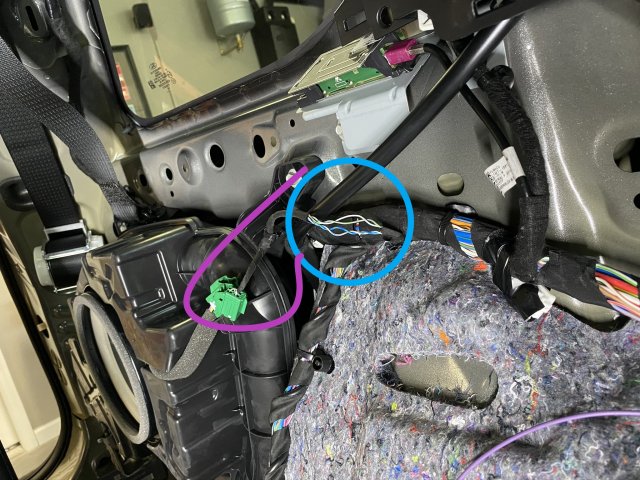
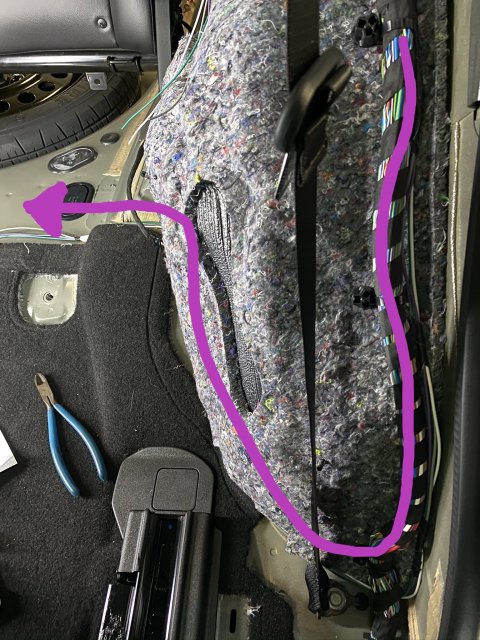
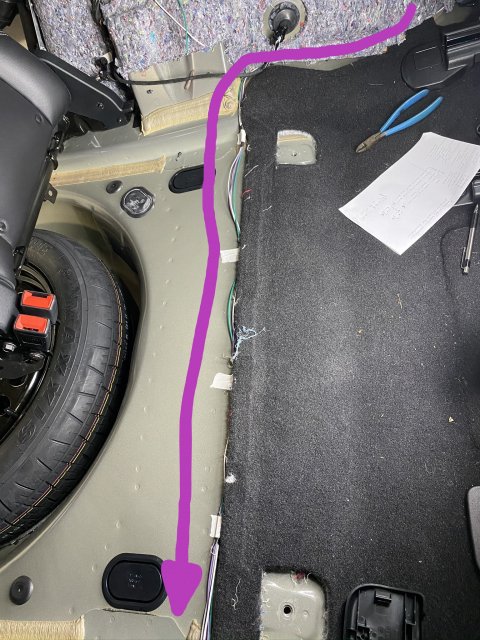
One of the bigger questions (with time consuming research to match) was figuring out how to get the audio signal into the amp. After spending a lot of time with the FSM, I decided to tap into the existing signal for the OEM sub. It's possible I could have maybe used one of the other speakers, but I wasn't clear on whether the signal going to these was already pre-processed to eliminate the sub frequencies or not. The safest bet, I figured, was to use the signal going to the OEM sub. I know it contains the audio signal I want. Sooooo. A couple pictures down will show exactly where I tapped in, which wires I tapped into, what color they are and what they are for.
Please do keep in mind that this is for a 2020 Explorer ST (with the B&O fancy sound system). If you have something different, or your wire colors aren't matching mine, stop and do some research - something might have changed between years.
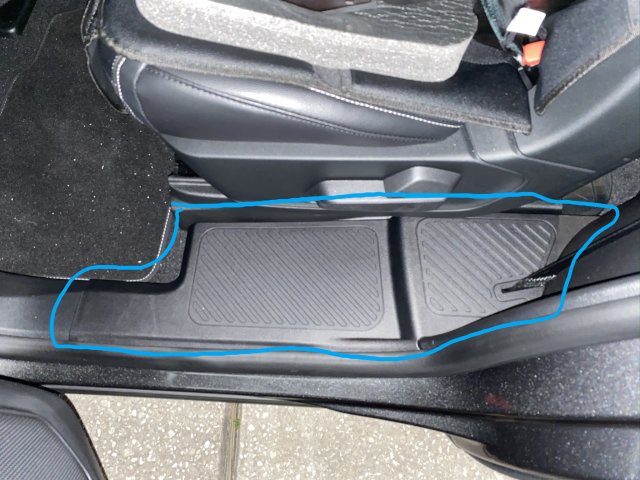
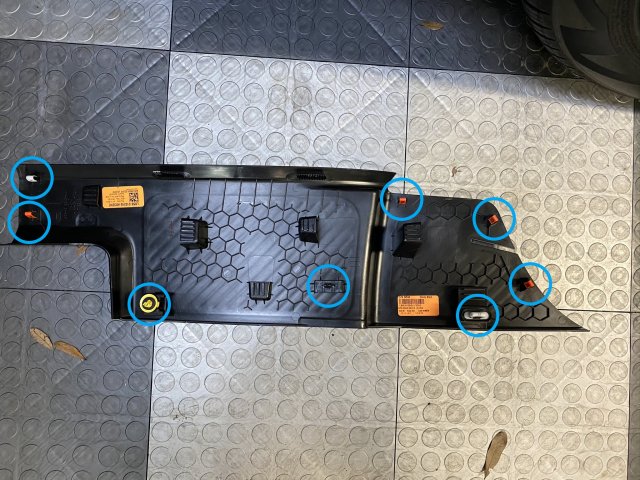
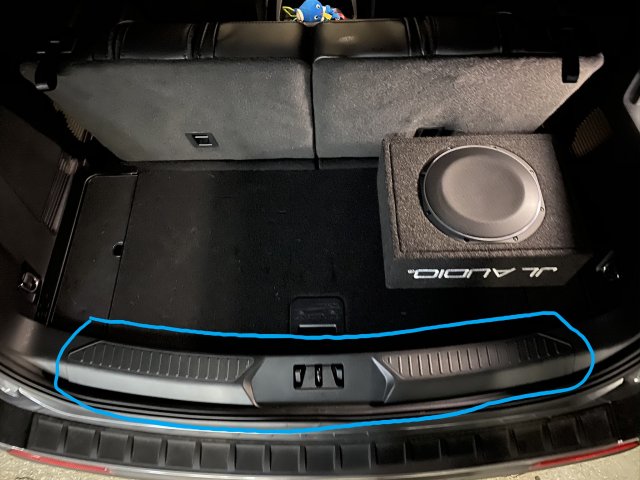
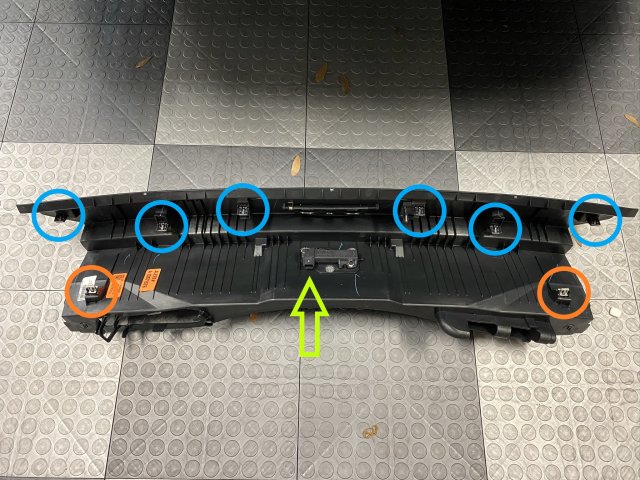
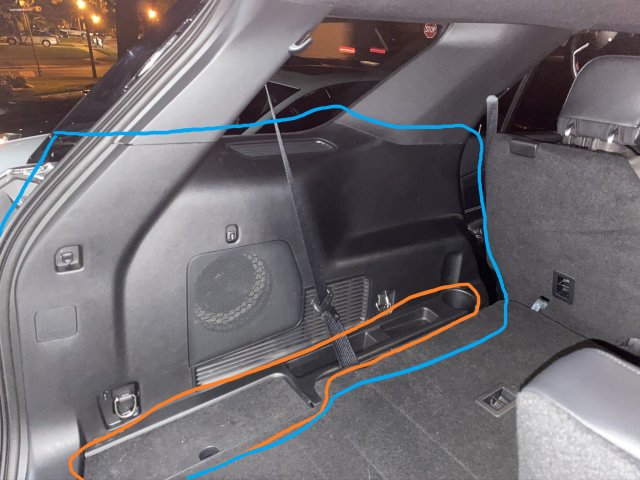
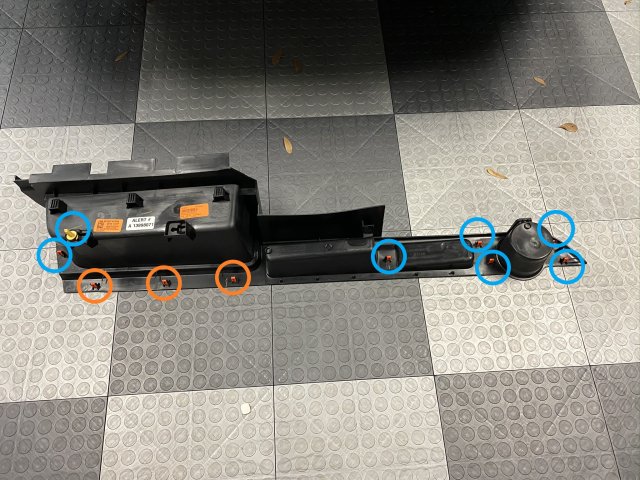
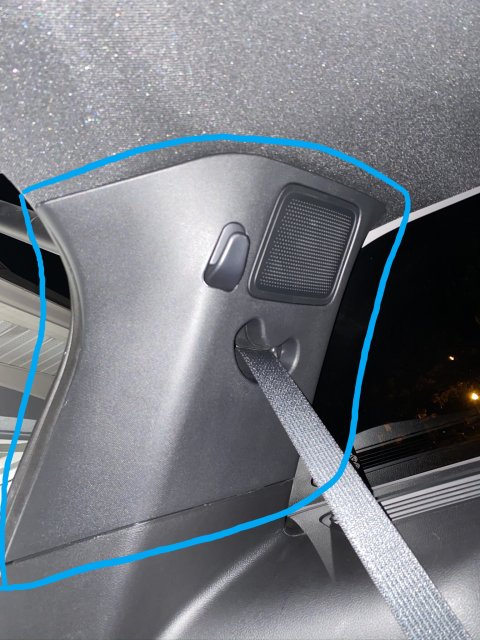
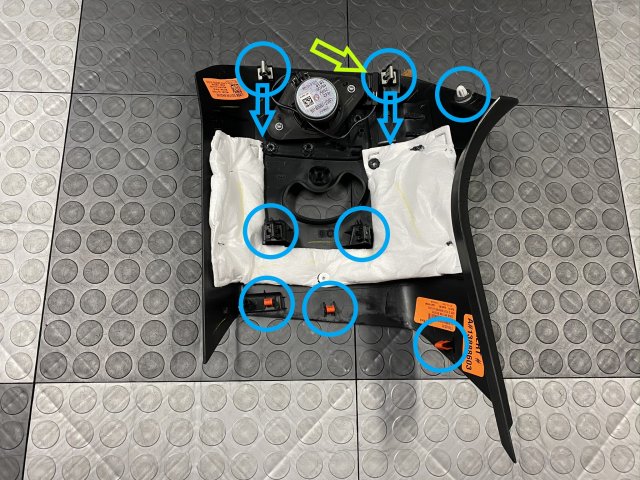
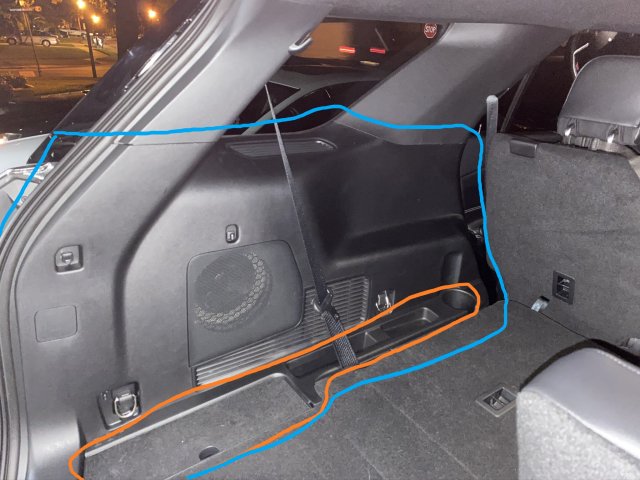
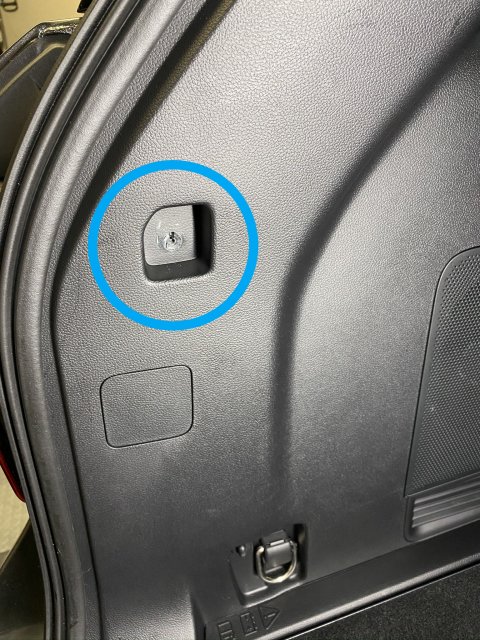
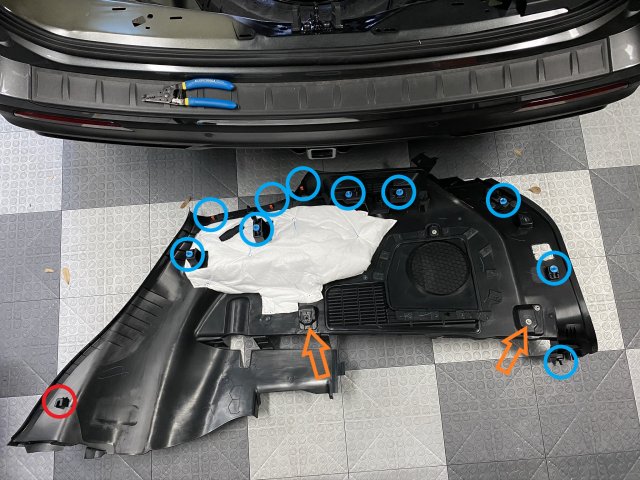
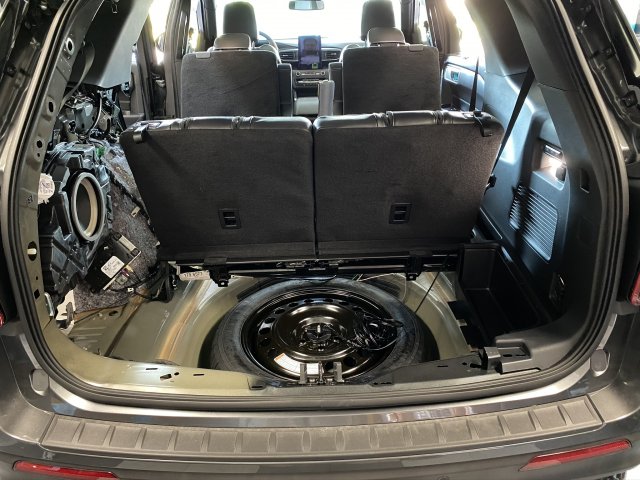
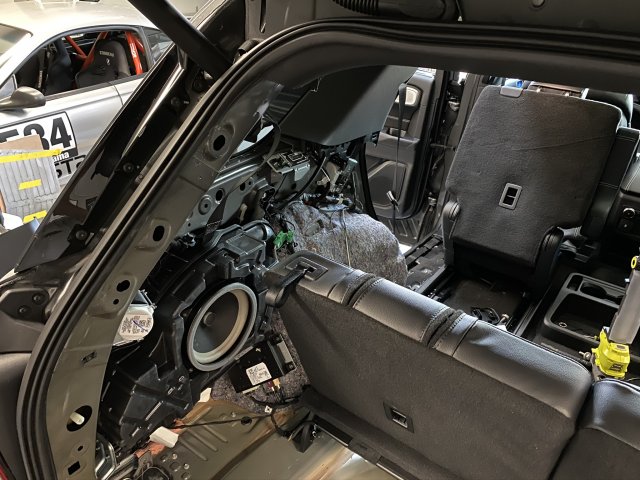
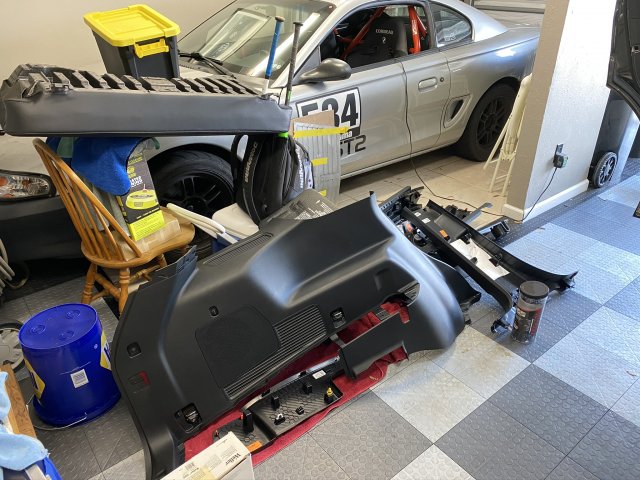
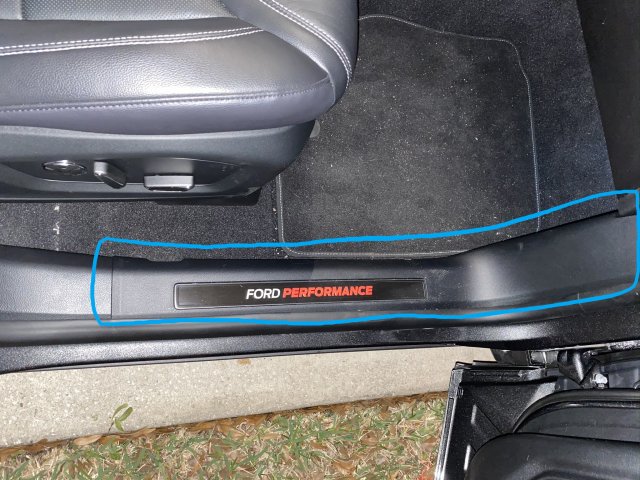
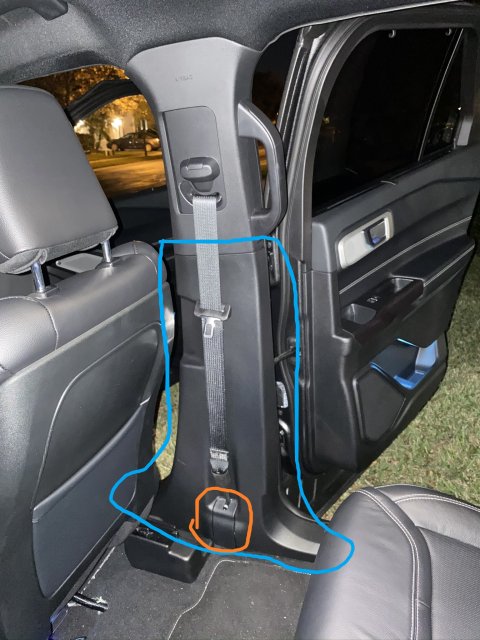
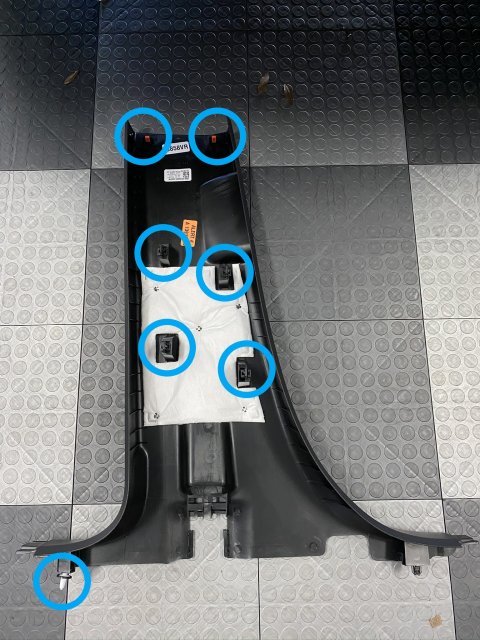
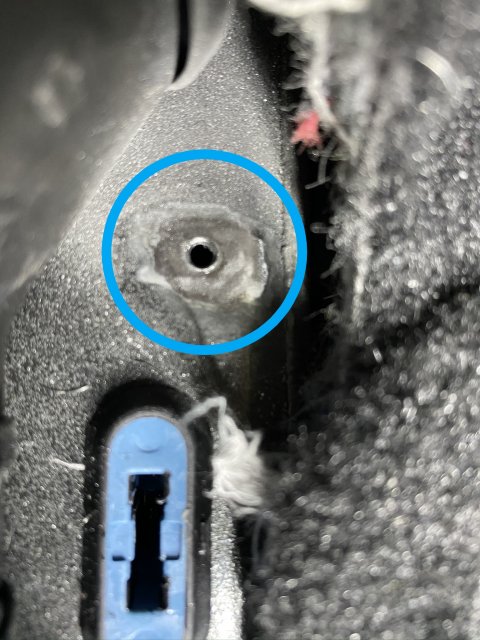
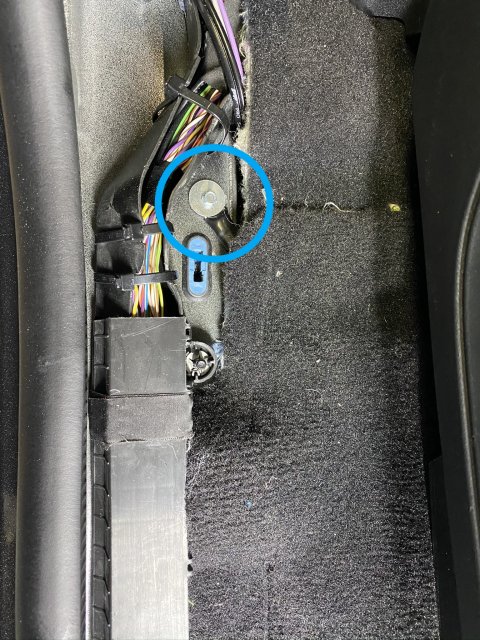
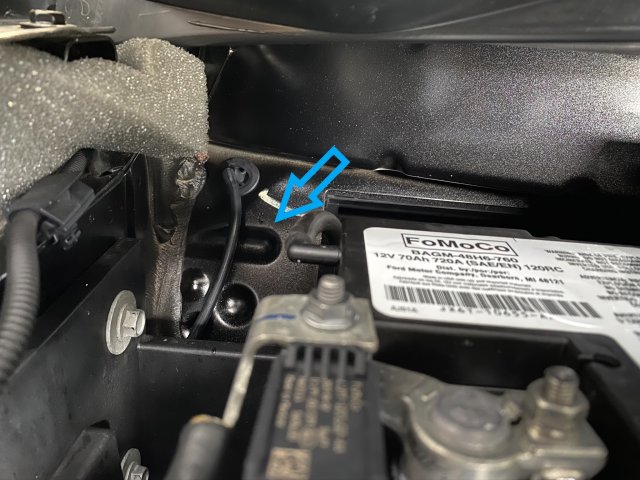
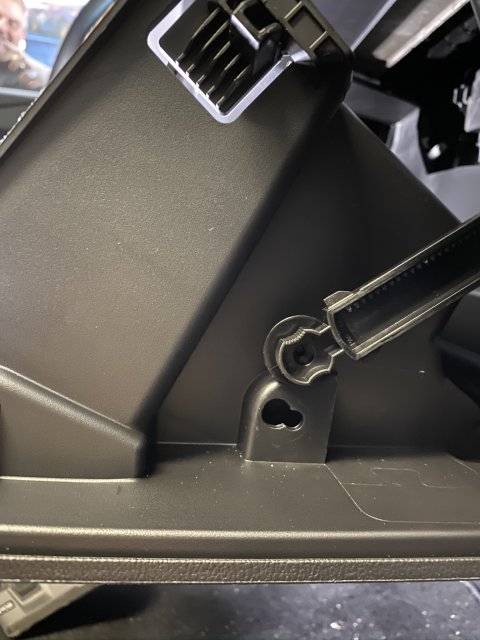
Anyway, here we go. Most of the pictures are of the trim panels I had to remove to get to various things. I also took pictures of the backside of the trim panels so you can see exactly where the fasteners are. This was a bit nerve wracking for me, considering the car was brand new and I hadn't taken these off before. But between the FSM and going slow/being careful, I was able to get everything off without breaking anything.
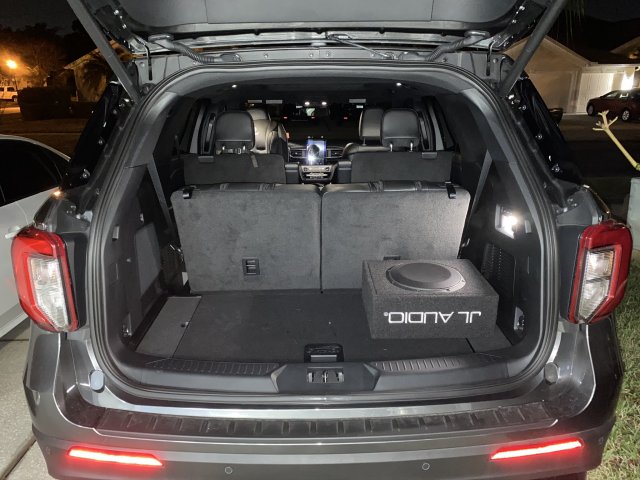
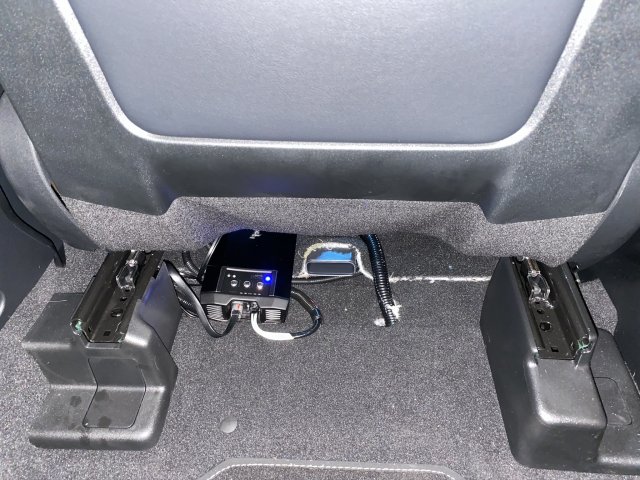
But right before we jump in, here's the sub and amp, when the install was finished:
Getting the Signal
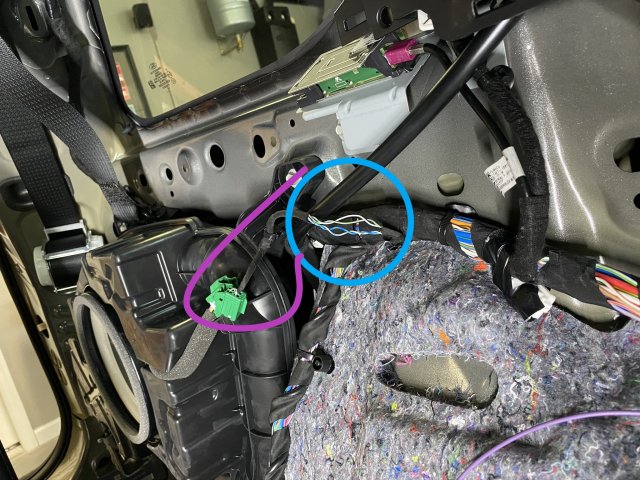
I tapped the existing sub for the line-level inputs into the amp. (Again, keep in mind this is for a 2020, and I'm not responsible for whatever work-slash-damage you do to your Explorer). There are two sets of wires that feed the OEM sub (it's a DVC [dual voice coil] sub), these are the colors of those wires:
The amp I used is a Rockford Fosgate T500X1br mono amp, it puts out 500W RMS @ 1 Ohm / 300W RMS @ 2 Ohm.
The sub is a JL Audio 10" shallow sub (300W RMS @ 2 Ohm).
One of the bigger questions (with time consuming research to match) was figuring out how to get the audio signal into the amp. After spending a lot of time with the FSM, I decided to tap into the existing signal for the OEM sub. It's possible I could have maybe used one of the other speakers, but I wasn't clear on whether the signal going to these was already pre-processed to eliminate the sub frequencies or not. The safest bet, I figured, was to use the signal going to the OEM sub. I know it contains the audio signal I want. Sooooo. A couple pictures down will show exactly where I tapped in, which wires I tapped into, what color they are and what they are for.
Please do keep in mind that this is for a 2020 Explorer ST (with the B&O fancy sound system). If you have something different, or your wire colors aren't matching mine, stop and do some research - something might have changed between years.
Anyway, here we go. Most of the pictures are of the trim panels I had to remove to get to various things. I also took pictures of the backside of the trim panels so you can see exactly where the fasteners are. This was a bit nerve wracking for me, considering the car was brand new and I hadn't taken these off before. But between the FSM and going slow/being careful, I was able to get everything off without breaking anything.
But right before we jump in, here's the sub and amp, when the install was finished:


Getting the Signal
I tapped the existing sub for the line-level inputs into the amp. (Again, keep in mind this is for a 2020, and I'm not responsible for whatever work-slash-damage you do to your Explorer). There are two sets of wires that feed the OEM sub (it's a DVC [dual voice coil] sub), these are the colors of those wires:
- "SUBWOOFER 1" (I used as Left channel)
- positive (+) = Green/Violet wire
- negative (-) = Gray wire
- "SUBWOOFER 2" (I used as Right channel)
- positive (+) = White/Blue wire
- negative (-) = Blue/Green wire

Last edited:
-
4
- Show All

