Thread Starter
#301
-
Sign Up! To view all forums and unlock additional cool features
Welcome to the #1 Explorer ST Forum and Explorer ST community dedicated to Explorer ST owners and enthusiasts. Register for an account, it's free and it's easy, so don't hesitate to join the Explorer ST Forum today!
Focal, Mosconi, Illusion and Helix build
- Thread starter UNBROKEN
- Start date
Thread Starter
#303
Thread Starter
#303
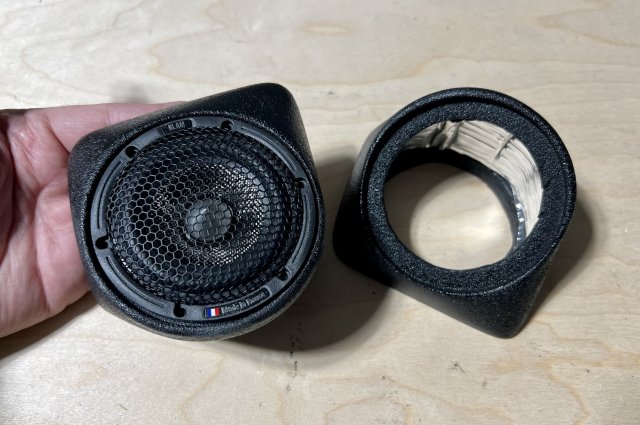
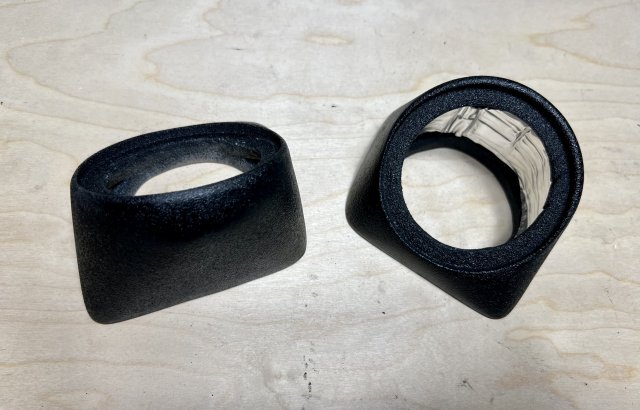
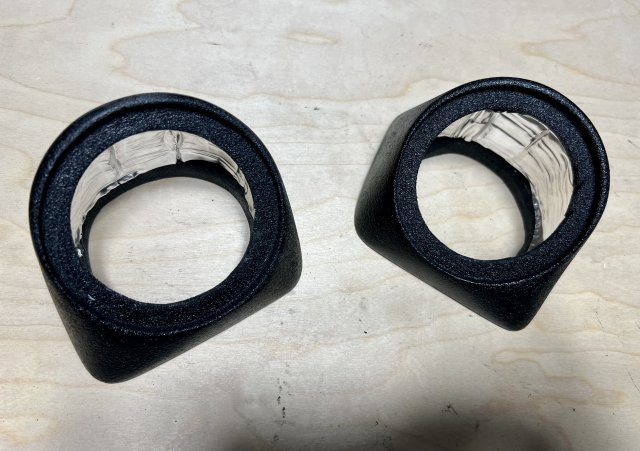
Baked with a space heater for a few hours to cure the paint and I decided to slap them in to get a look. I’ll pull them out tomorrow to run the wires and put in the rest of the screws then.
To be honest…I don’t love the shape. It’s either this or fire them down into the seat backs though….and I can’t see them from the front seat anyway so hopefully they’ll just be out of sight / out of mind.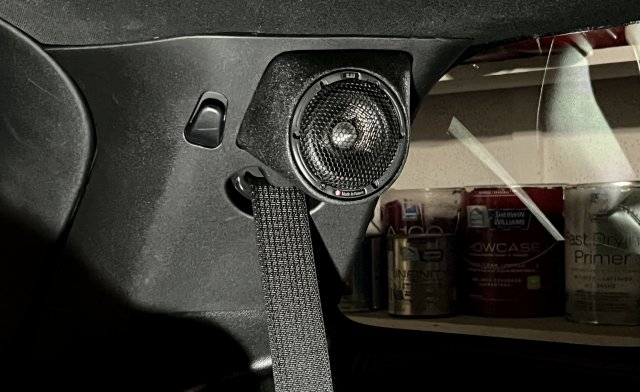
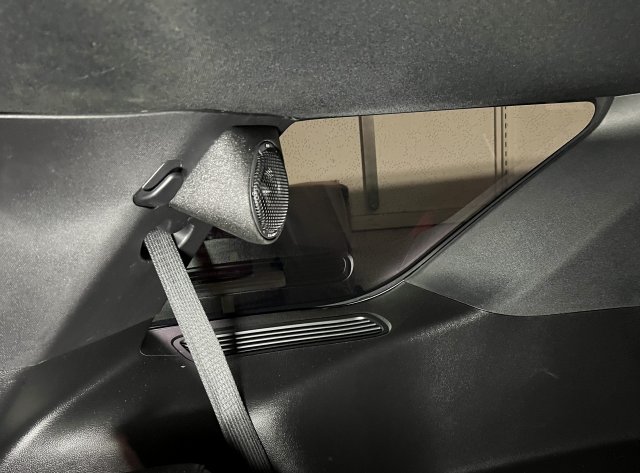
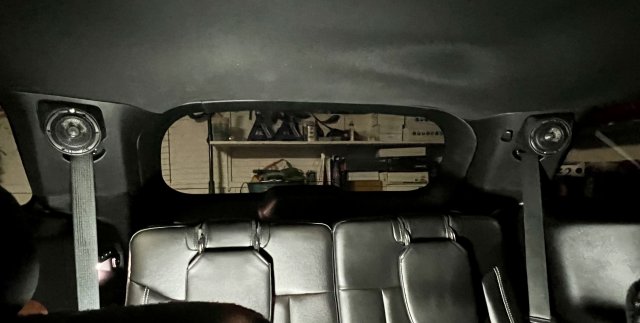
To be honest…I don’t love the shape. It’s either this or fire them down into the seat backs though….and I can’t see them from the front seat anyway so hopefully they’ll just be out of sight / out of mind.


Thread Starter
#308
Thread Starter
#308
How's that sound? I would think that would be closer to 26ms compared to most sedans running their differential rear fill in the rear doors(at 20ms). That's figuring that your rear pods are roughly 8 ft from MLP in comparison to about 2-3ft in a rear door.
Thread Starter
#310
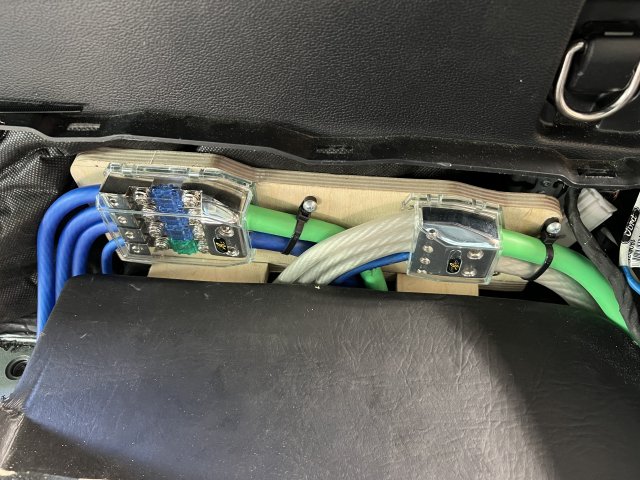
It runs all the way to the back.
The blocks are fed from the battery in the front and also wired for the power supply from the rear. View attachment 19181
The blocks are fed from the battery in the front and also wired for the power supply from the rear. View attachment 19181
Thread Starter
#312
Thread Starter
#312
Nice, I always do the same. So many people try to argue with that logic as if a modern unibody can provide the same low-impedance and current capable connection.
I somehow got all three runs of 12ga wire through and into the doors.
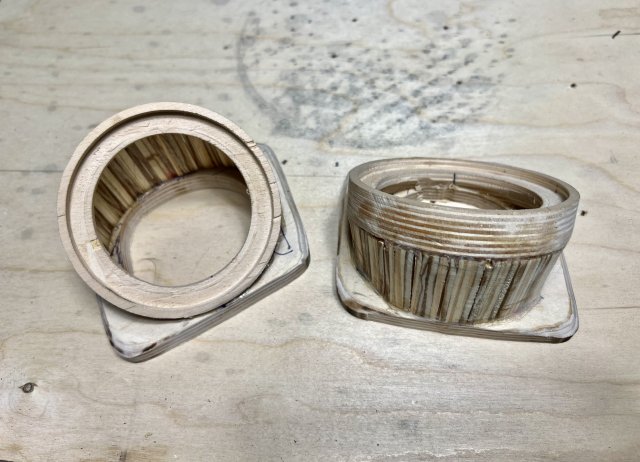
I moved on to the midranges and mounted them in the flange of the OEM speaker…after some serious modifications. That flange WAS the OEM speaker. They’re mounted to the inner door panel.
I moved on to the midranges and mounted them in the flange of the OEM speaker…after some serious modifications. That flange WAS the OEM speaker. They’re mounted to the inner door panel.
For the midranges did you have to hack into the black plastic in the door frame for depth clearance?
Thanks!
Thread Starter
#314
Thread Starter
#314
Yea I just fished one wire at a time through. It definitely sucked…probably the worst part of the whole build.
I think I did clearance being the mids a little bit…I still had room to get a deflex pad behind them though.
Be aware that using all the factory door locations you will be able to get it tonally great but if you’re after imaging and staging it just won’t pull it off very well. The oem mid and tweeter locations fight you pretty hard.

