• Sign Up! To view all forums and unlock additional cool features

    Welcome to the #1 Explorer ST Forum and Explorer ST community dedicated to Explorer ST owners and enthusiasts. Register for an account, it's free and it's easy, so don't hesitate to join the Explorer ST Forum today!


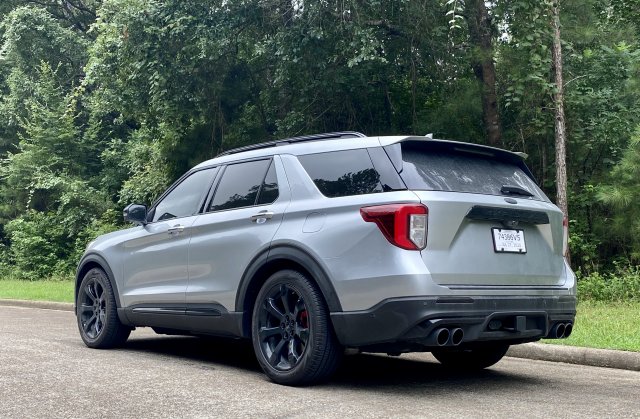
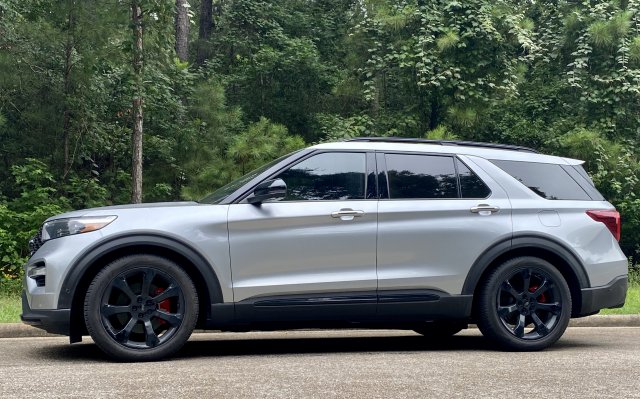
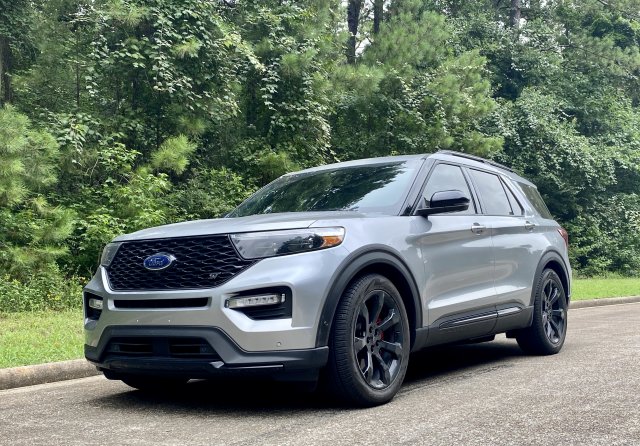
H&R springs installed.

UNBROKEN

4000 Post Club
Messages
4,577
Reactions
5,349
Points
352
Location
Houston, TX, USA
#1
Luckily I have a full shop with every tool known to man and a lift to work on...I’m too old to roll around on the floor anymore. Drove onto the lift at 7:45 this morning and drove off at noon. The front is standard strut stuff...super easy. Didn’t even need to compress the new spring...just slid it on and tightened the retaining nut. The back I had to study for a few minutes. I’m used to solid axle trucks...this multi-link stuff is new to me. I popped off the sway bar end links and lower shock then pulled the long through bolt on the outside of the LCA. Since I had no plans to ever reuse the oem springs I just cut them in half with a cut off wheel and they fell right out. Getting the new springs in took some prying on the LCA but I broke out the 48” “I’m not asking nice” pry bar and they went in with minimal effort.
measured drop in front was 1.25” and the rear was 1.5” after a 45 mile drive. H&R says they test every coil to full coil bind and they don’t settle but I’ll measure again in a couple hundred miles just to check. I’d like that missing 1/4” on both ends. lol
Measurements were taken with a full tank both times.
Ride quality is phenomenal. Firmer but not much and it handles even better than before. So far I’m impressed. It definitely looks a lot better and now I really can’t wait to get my new wheels on it.
Something to consider when you drop the rear more than the front is headlight alignment...you’ll more than likely need to drop the lights a bit to correct them.
A4B689FD-6F8C-4724-B445-1DDD40A1D2DD.jpeg 853C1E9D-C2C3-408D-9CE4-5052A49A6EE7.jpeg 3BE1B410-E3DA-47CD-B6EE-6AF4964E3917.jpeg
 

Messages
84
Reactions
16
Points
7
Location
Austin, TX, USA
#2
Luckily I have a full shop with every tool known to man and a lift to work on...I’m too old to roll around on the floor anymore. Drove onto the lift at 7:45 this morning and drove off at noon. The front is standard strut stuff...super easy. Didn’t even need to compress the new spring...just slid it on and tightened the retaining nut. The back I had to study for a few minutes. I’m used to solid axle trucks...this multi-link stuff is new to me. I popped off the sway bar end links and lower shock then pulled the long through bolt on the outside of the LCA. Since I had no plans to ever reuse the oem springs I just cut them in half with a cut off wheel and they fell right out. Getting the new springs in took some prying on the LCA but I broke out the 48” “I’m not asking nice” pry bar and they went in with minimal effort.
measured drop in front was 1.25” and the rear was 1.5” after a 45 mile drive. H&R says they test every coil to full coil bind and they don’t settle but I’ll measure again in a couple hundred miles just to check. I’d like that missing 1/4” on both ends. lol
Measurements were taken with a full tank both times.
Ride quality is phenomenal. Firmer but not much and it handles even better than before. So far I’m impressed. It definitely looks a lot better and now I really can’t wait to get my new wheels on it.
Something to consider when you drop the rear more than the front is headlight alignment...you’ll more than likely need to drop the lights a bit to correct them.
View attachment 1181 View attachment 1182 View attachment 1183
Nice! Good info on the lights too. Yeah I can't wait to see the wheels and tires myself. That will be the last after stereo, springs, jlt catch can and intercooler.
 

JoeyC

New Member
Messages
9
Reactions
10
Points
2
Location
Covina, CA, USA
#3
Looks great man! Can’t wait to see it once the new wheels are on. My experience was just about the same as yours, I started on the rear thinking it was going to be a breeze but couldn’t figure out why the control arm wouldn’t fully drop to remove the old spring. Almost like the alignment adjustment bolt has a “stopper” built into it. It’s hard to explain.
 

OP
UNBROKEN

UNBROKEN

4000 Post Club
Messages
4,577
Reactions
5,349
Points
352
Location
Houston, TX, USA
Thread Starter #4
Looks great man! Can’t wait to see it once the new wheels are on. My experience was just about the same as yours, I started on the rear thinking it was going to be a breeze but couldn’t figure out why the control arm wouldn’t fully drop to remove the old spring. Almost like the alignment adjustment bolt has a “stopper” built into it. It’s hard to explain.
That’s why I broke out the big boy breaker bar. lol
 

OP
UNBROKEN

UNBROKEN

4000 Post Club
Messages
4,577
Reactions
5,349
Points
352
Location
Houston, TX, USA
Thread Starter #6
~200 mile update. Front still at 1.25”, rear came down to 1.625”
 

Blk_Ravn_ST

Member
Law Enforcement
Messages
88
Reactions
32
Points
17
Location
Surprise, AZ
Vehicle
2020 Explorer ST
#7
Did anyone post a link to the springs yet?
 

Messages
309
Reactions
310
Points
67
Location
Las Vegas, NV, USA
#10


Top