I appreciate everyone chiming in. It's nice knowing people appreciate this.
The plan for this weekend was to install the front brakes last night and test tonight. After installing the brakes, I attempted to bleed them. All the air bubbles pushed out, but the pedal still went to the floor. I did ZERO with the rear brakes. Versus fight the fight at 0200, I called it quits.
This morning I woke early and figured I'd bleed the rear brakes.
I don't have a vacuum bleeder, so I did it the old fashion way. Pump to stiff(er) pedal, I then would slide the seat forward using my prosthetic leg to hold the pedal in. Jump in my wheelchair, open the bleeder, then rinse and repeat. Always starting at the piston furthest from the pump.
I have never had a car with an electonic e-brake before, so I never throught to do anything about it. Turns out there is a sequence with the gas pedal, parking brake switch and ignition button that puts the car in maintence mode. Try it as I may, I could never get it to work and the pedal kept going to the floor. So much for testing tonight...
I contacted a friend at the dealership and told him of my dilemma, he told me to bring it in tomorrow and he'll look at it.
Not wanting to go through this again, I decided to change the rear brakes. Big problem though, the parking brake was on, and wouldn't release. The only way to remove the rotor was to take the whole system as one-piece.
The caliper brackets required an impact or ratchet with the trusty jack handle as an extension. I then had to use a ratching wrench to remove the 3 bolts that hold the dust shield on. The way Ford installed the rear dust shield required it to be taken off with the rotor. The issue was the shield was mounted behind the caliper mounting point thus requiring me to bend and pry it over it. The new rotors are too big for the dust shields, so they were getting tossed anyways.
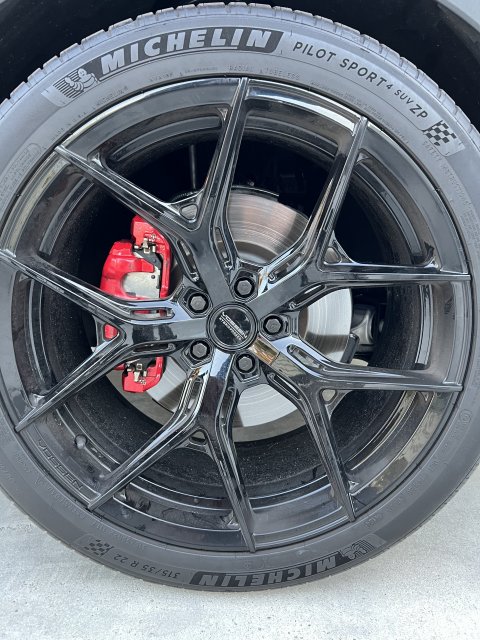
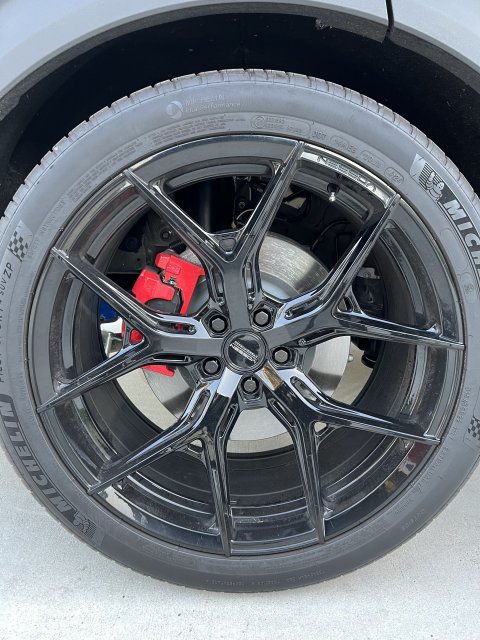
The Superforged brackets and calipers are billet pieces. The caliper is one-piece, bolting directly to the bracket. I used a bit of thread locker to lock-in the bolts reducing the chance of over-tightening.
My only gripe with the Superforged is their design of holding-in the pads. To replace the pads, despite the fronts having pins to hold the pads in-place, you need to remove the entire caliper to get to and install new pads. Changing pads will be a real treat. I honestly think I'll just bring the car to Ford and pay them to replace the pads. I'm hoping the provided pads provide more stopping power. If they don't, I'll use them until they wear-out then upgrade to a more aggresive pad.
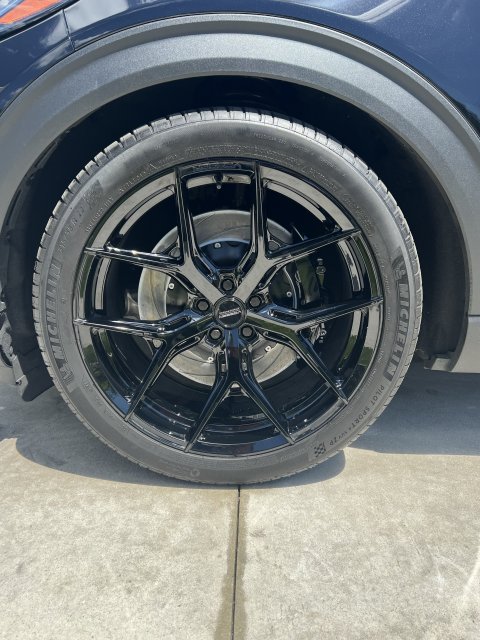
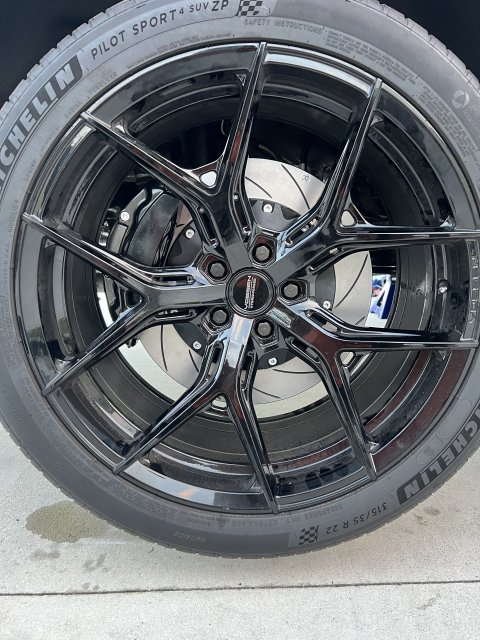
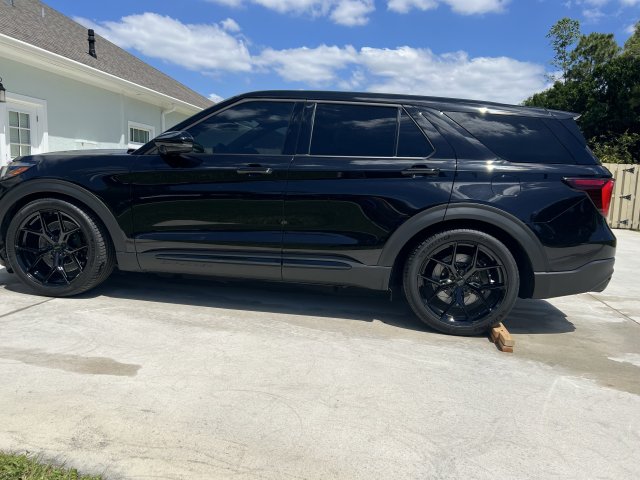
In a rush to get everything done, I didn't take any after photos. Despite these rotors being massive, they can be another 50mm bigger and they'd still clear my wheels.
If the car gets done tomorrow, I'll run it through the wash and post the new photos, then hopefully test tomorrow night.
Sorry for the long read.
If you run the Superforged, how have you changed the pads? Removing the caliper as I mentioned above?

 1
1
 . But you gotta do what you gotta do!