• Sign Up! To view all forums and unlock additional cool features

    Welcome to the #1 Explorer ST Forum and Explorer ST community dedicated to Explorer ST owners and enthusiasts. Register for an account, it's free and it's easy, so don't hesitate to join the Explorer ST Forum today!


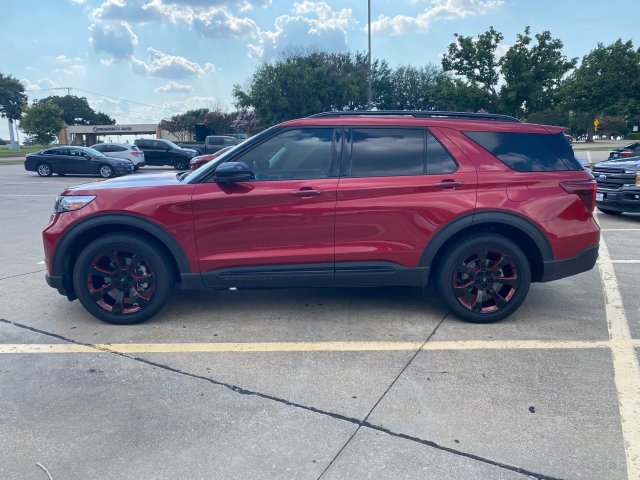
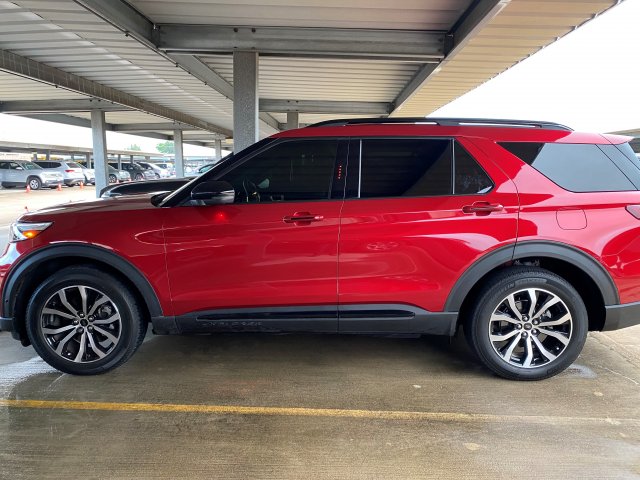
The Not So Rapid Red Project

Messages
153
Reactions
118
Points
37
Location
Plano, TX, USA
#1
So, on Dec. 13, 2020 I walked into my local Ford dealer to look at ExST's. I had previously gotten a 2014 Explorer Sport and a 2016 Taurus from them. With the 21's out there were some big discounts on the 20's. I was quite content with my ST, as it was driving off the lot, as this is my daily driver. Then I did a search for something ExST related and came across this forum, ugh, thanks a lot folks, lol, I was bitten by the bug after seeing all these posts.
You will notice I didn't call this a build in my title, it is a project for ME. Maybe I shouldn't even post it in here because it is not a "build". I have no lift access and no welding experience (unless you count what I learned in Auto Body Repair and Refinishing at VoTech in 1974). But the only reason I was taking that class was because a cute little blonde was going to VT for a different class and the bus ride was a great way for a shy guy to try and spend some time with her, lol. I have some wrenching experience but I have never tuned a vehicle before.
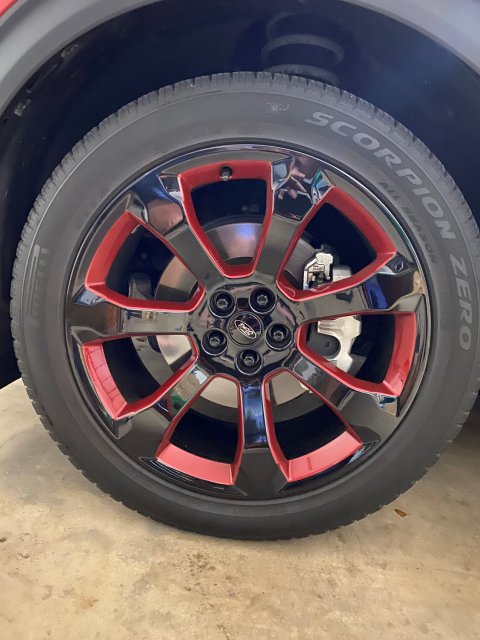
So far all I have done is cosmetic stuff but it makes my ST unique and I am happy with it.
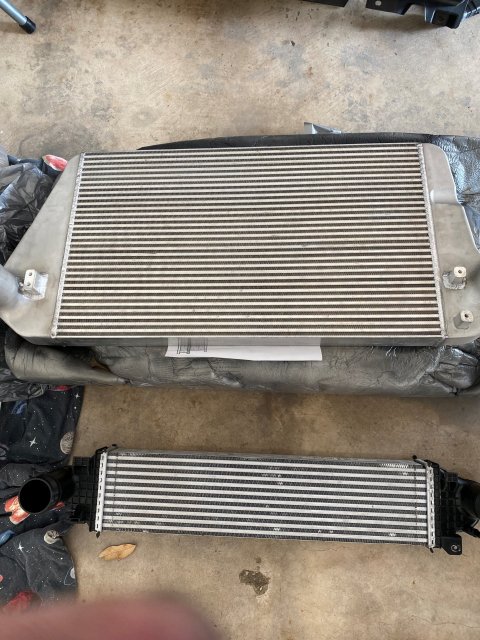
I am waiting on Steeda sway bar, H&R springs, Whipple IC, Fenfab catted downpipes. Once I receive a couple of those items that are blue, I will send them out and get them refinished in red. Then I will order the Thermal exhaust and have the sway bar, springs and exhaust all done at once. I have plenty of time to contemplate a tune.
 

Attachments

Last edited:

GearHead_1

1000 Post Club
Messages
1,555
Reactions
1,297
Points
262
Location
Utah
Vehicle
Exploder
#2
...Once I receive a couple of those items that are blue, I will send them out and get them refinished in red. Then I will order the Thermal exhaust and have the sway bar, springs and exhaust all done at once. I have plenty of time to contemplate a tune.
I've considered having springs powder coated too, for me the blue speaks to a different time in my life. Black springs are just fine for me at this point. With the Red accoutrements already on the vehicle (i.e. brakes, badges etc.) I perhaps could see red working but it still kinda makes the "HEY! Look at me, statement too."

This all said, this thought has went through my mind. At what temperature would springs start to relax and loose their temper? I'm guessing that it's likely above the temp of a powder coating booth (web says 350 - 450 degrees) but it did make me stop and wonder when it would no longer be good for the springs.

I do have access to a blast cabinet and I could simply spray them black. Heck, you wouldn't even need to blast them, just paint over the powder coating. I've painted coil springs before and the paint held up very well. Maybe someone smarter than me will have an answer to this.
 

Last edited:
OP
patricklb1
Messages
153
Reactions
118
Points
37
Location
Plano, TX, USA
Thread Starter #3
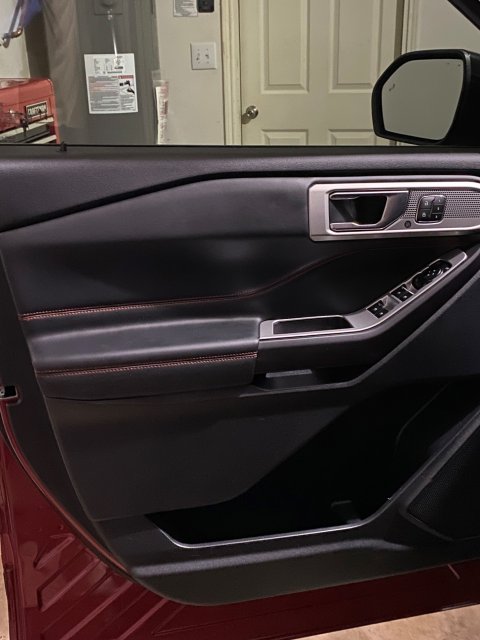
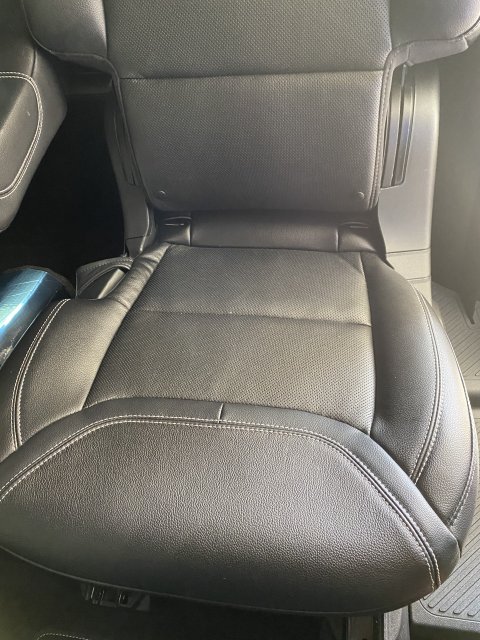
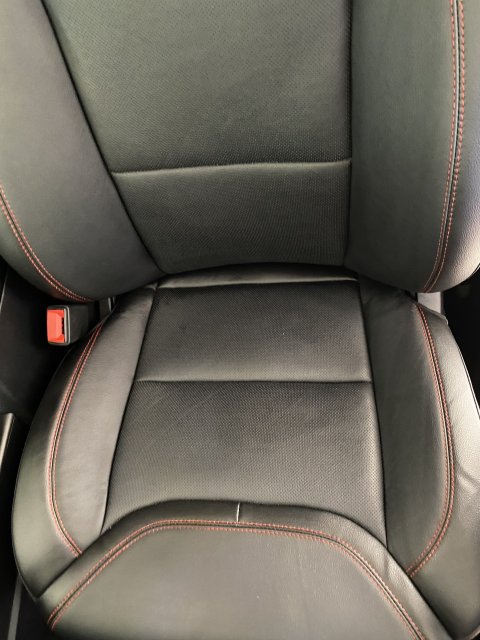
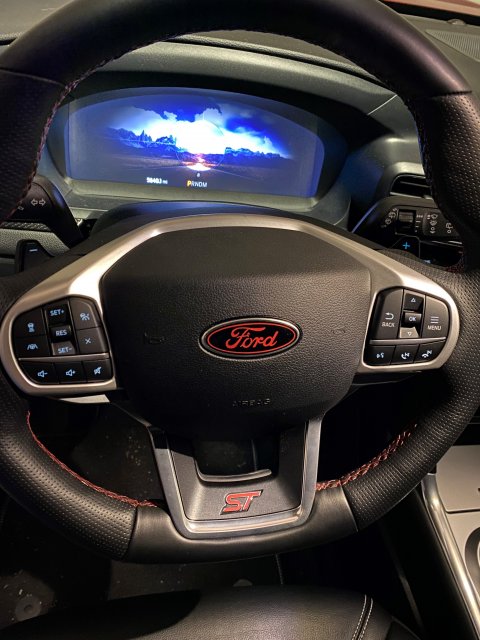
A little interior dressing up.
I've considered having springs powder coated too, for me the blue speaks to a different time in my life. Black springs are just fine for me at this point. With the Red accoutrements already on the vehicle (i.e. brakes, badges etc.) I perhaps could see this working but it still kinda has the "HEY! Look at me, statement too." That said, this thought went through my mind, at what temperature would springs loose their temper? I'm sure it's well above the temp of a powder coating booth but it did make me stop and think.
I've thought about that myself, but they have already been powder coated once, hopefully a second process won't make a big difference. I actually thought about having them done in black so it has more of a nothing to see here, sleeper look.
 

Attachments

OP
patricklb1
Messages
153
Reactions
118
Points
37
Location
Plano, TX, USA
Thread Starter #4
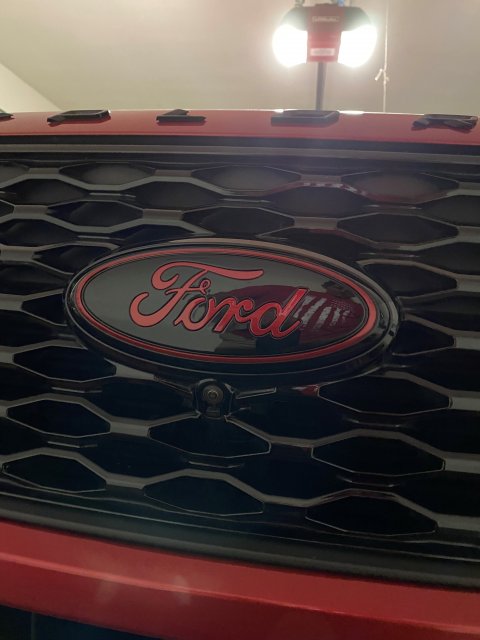
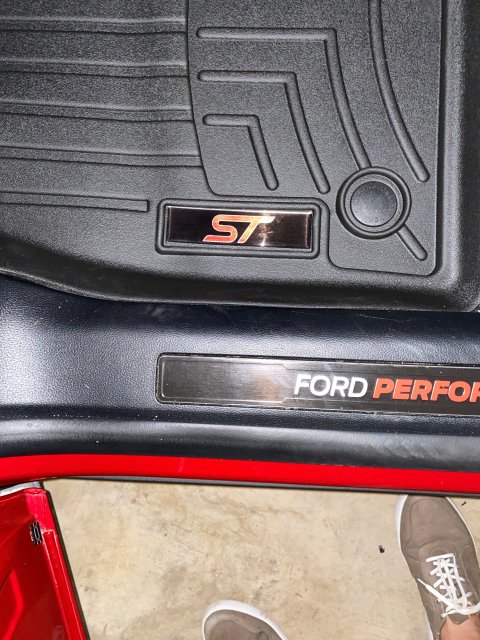
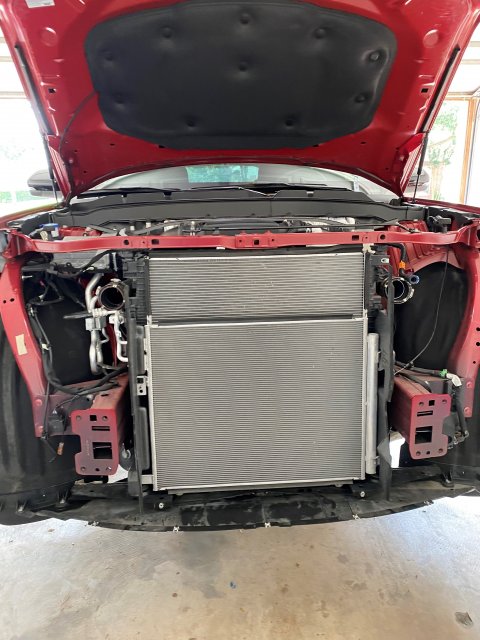
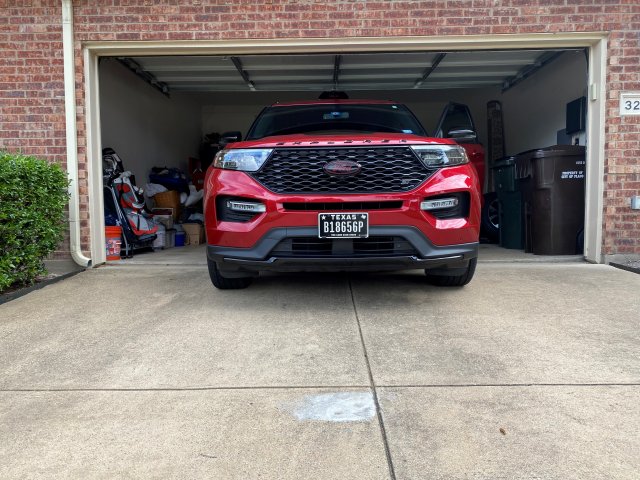
Got a few things done this weekend. Installed the Whipple, which gave me the opportunity to also install the grill oval. Also finally got it vacuumed out so I could put in the Weather Tech liners with the ST logo. I guess I got so wrapped up in the project I forgot to take an installed picture, lol.
 

Attachments

OP
patricklb1
Messages
153
Reactions
118
Points
37
Location
Plano, TX, USA
Thread Starter #5
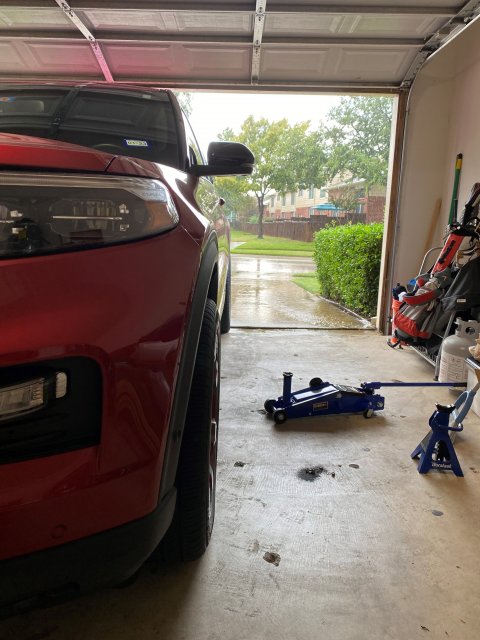
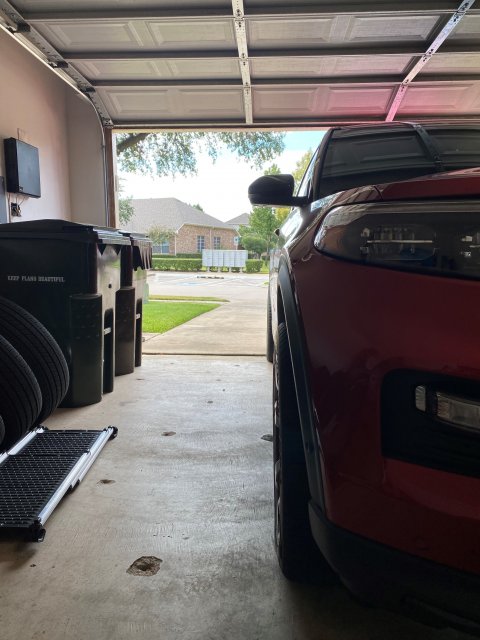
Yippee, while I, like anyone else doing mods, wait for back ordered parts, I have something to do this weekend. I just cleaned my engine so I may not even get my hands dirty on this job, lol.
 

Attachments

Messages
174
Reactions
51
Points
27
Location
Toronto, Ontario, Canada
#6
A little interior dressing up.

I've thought about that myself, but they have already been powder coated once, hopefully a second process won't make a big difference. I actually thought about having them done in black so it has more of a nothing to see here, sleeper look.
What did it cost you roughly for the red stiching on the seats? Everything looks great btw
 

Messages
354
Reactions
249
Points
37
Location
Cincinnati, OH, USA
#7
Where did you get the ST emblems for the Weathertech mats? Looks great and I’m thinking I need them now!

also, I love the red stitching!! You used a Sharpie, right? I might need to do this.
 

OP
patricklb1
Messages
153
Reactions
118
Points
37
Location
Plano, TX, USA
Thread Starter #8
Where did you get the ST emblems for the Weathertech mats? Looks great and I’m thinking I need them now!

also, I love the red stitching!! You used a Sharpie, right? I might need to do this.
I got the Weather Tech emblems here - Gel Domed Emblem Sticker Decal Insert Replacements fits Ford / | Etsy Just scroll through the pictures until you find the ST logo. And yes, I just used red Sharpies for the stitching. It's tedious as hell and you'll want some finger nail polish or acetone to wipe off the inevitable spill over onto the pleather and leather. The highly used seats, like the driver side need touch up every couple of months because your ass will wear it out wiping over it, lol.
 

OP
patricklb1
Messages
153
Reactions
118
Points
37
Location
Plano, TX, USA
Thread Starter #9
What did it cost you roughly for the red stiching on the seats? Everything looks great btw
Thank you. The red stitching cost me whatever a box of 12 red Sharpies cost, lol and a few hours of patience. It's a very tedious process but the look is worth it, I think. You'll also want to get some acetone or finger nail polish because you're going to end up getting some red on the leather and pleather. It wipes right off without disturbing the stitching color. I've found the drivers seat needs some touch up every couple of months just from wiping across it getting in and out.
 

Messages
174
Reactions
51
Points
27
Location
Toronto, Ontario, Canada
#10
Very clever. I never thought of using a marker. I will keep that in mind. Thank you.
 

OP
patricklb1
Messages
153
Reactions
118
Points
37
Location
Plano, TX, USA
Thread Starter #13
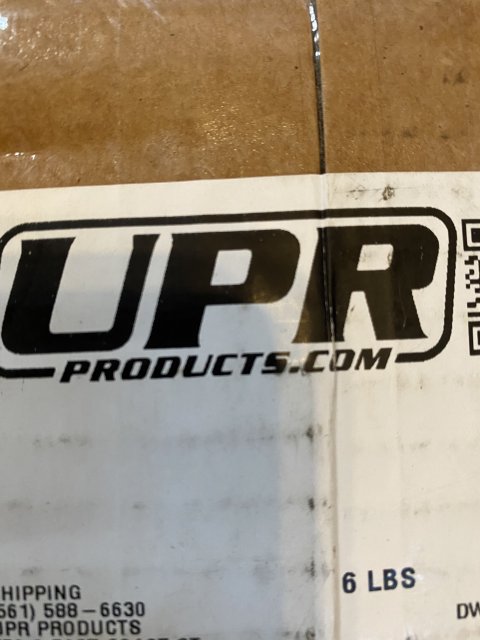
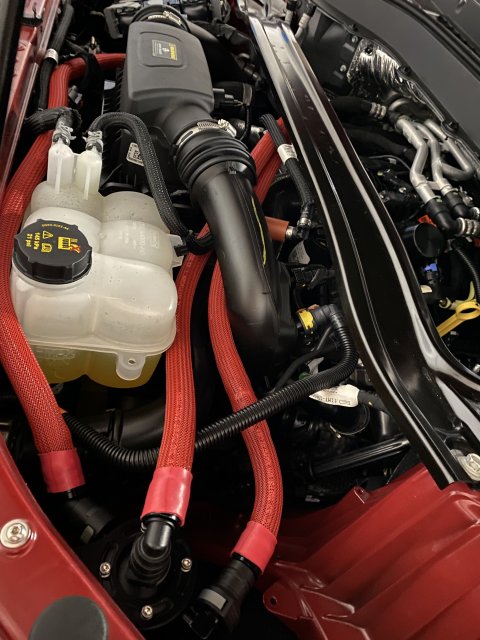
Finally got around to installing the UPR catch can. It took some trial and error on the braided sleeve and shrink tubing to get the right sizes.
 

Attachments

Rick

Member
U.S. Army Veteran
Law Enforcement
Messages
251
Reactions
166
Points
37
Location
Fort Hood, TX, USA
Vehicle
Rapid Red
#14
Looks real nice …
 

Messages
38
Reactions
21
Points
2
Location
Hilton Head Island, SC, USA
#19
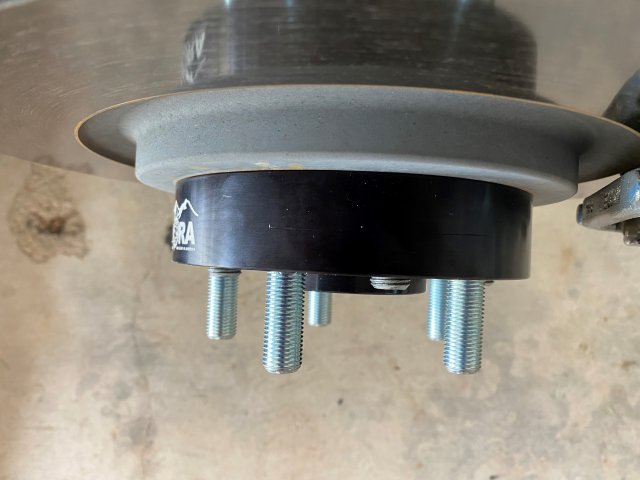
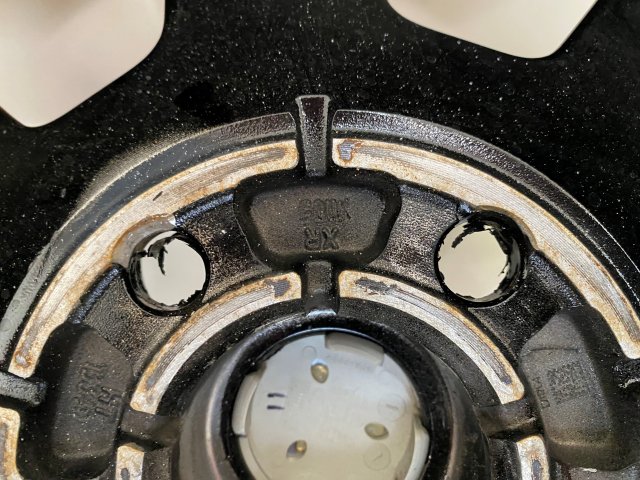
Did you happen to take any pics of how much you had to cut off the studs? I am assuming 1/4”.
When will you be doing the springs?
Just ordered H&R’s for mine, Lethal Performance had 3 sets in stock, believe it or not!
 

OP
patricklb1
Messages
153
Reactions
118
Points
37
Location
Plano, TX, USA
Thread Starter #20
Did you happen to take any pics of how much you had to cut off the studs? I am assuming 1/4”.
When will you be doing the springs?
Just ordered H&R’s for mine, Lethal Performance had 3 sets in stock, believe it or not!
I did not take any pictures of the cut studs unfortunately. I measured them for 1-1/8 length because there is a little relief in the back of the rim that allows for a little protrusion past the spacer (see picture). The picture of the studs is the back which were 1-1/4 spacers
I have my springs at the powder coater getting changed to red so as soon as I get them back I will set up an appointment with the dealer to install since I'm going to need alignment with those installed.
That was a lucky break with Lethal, man so many people, myself included, waited months for those damn things.
 

Attachments


Top