-
Sign Up! To view all forums and unlock additional cool features
Welcome to the #1 Explorer ST Forum and Explorer ST community dedicated to Explorer ST owners and enthusiasts. Register for an account, it's free and it's easy, so don't hesitate to join the Explorer ST Forum today!
What Have You Done To Your Explorer ST Today
- Thread starter TNSmokee
- Start date
Installed a Diode Dynamics Brakehitch light and K&N air filter.
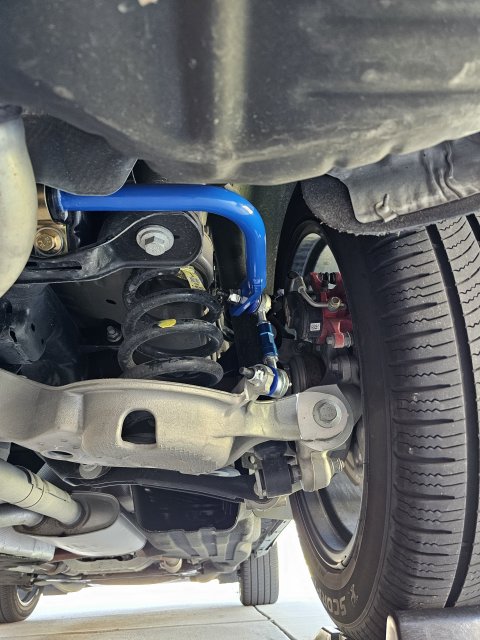
Probably going to move to some suspension parts next. Looking at the subframe lockout kit and sway bar.
Is there a material difference between the Steeda and FenFAB subframe kits? Steeda looks part dependent based on which subframe you wound up with, whereas FenFAB is a one size fits all affair.
Probably going to move to some suspension parts next. Looking at the subframe lockout kit and sway bar.
Is there a material difference between the Steeda and FenFAB subframe kits? Steeda looks part dependent based on which subframe you wound up with, whereas FenFAB is a one size fits all affair.
-
1
- Show All
Did the brake hitch light work? I did it when they first came out with it and it triggered issues with the tow mode control. At that time it was only advertised for the F-150. Called Diode Dynamics and they acknowledged the issue and gave me a full refund. Checked again at least 6 months ago, and they said it still was not for the Explorer.
Sent from my iPhone using Tapatalk
-
1
- Show All
Did the brake hitch light work? I did it when they first came out with it and it triggered issues with the tow mode control. At that time it was only advertised for the F-150. Called Diode Dynamics and they acknowledged the issue and gave me a full refund. Checked again at least 6 months ago, and they said it still was not for the Explorer.
-
1
- Show All
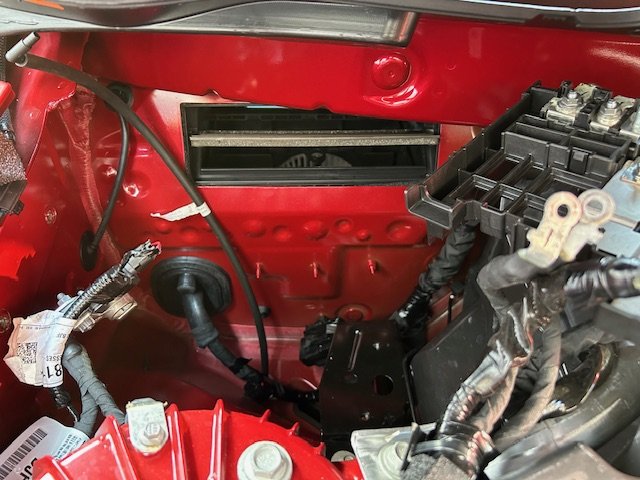
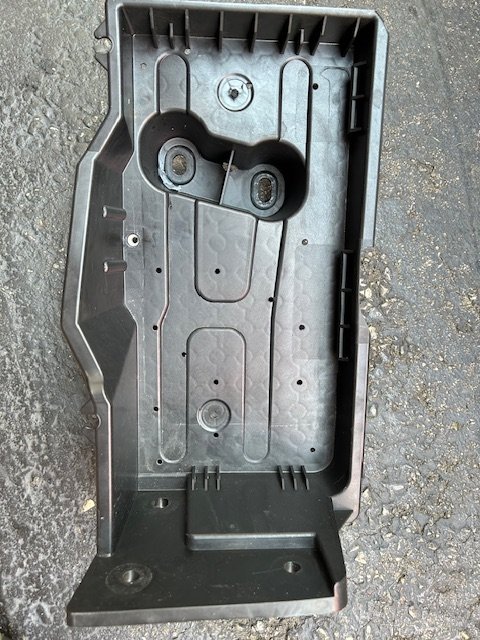
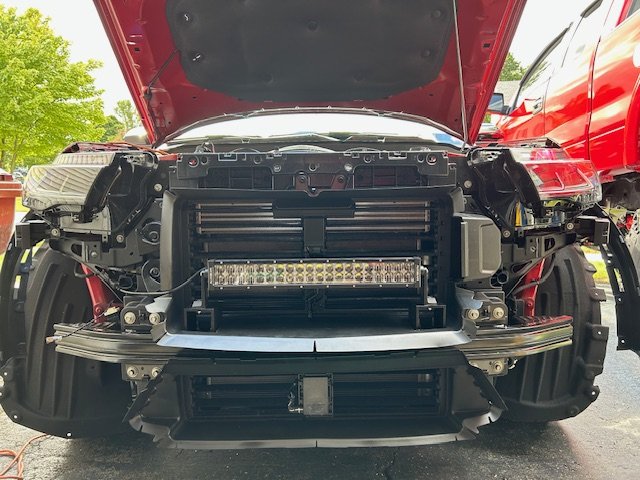
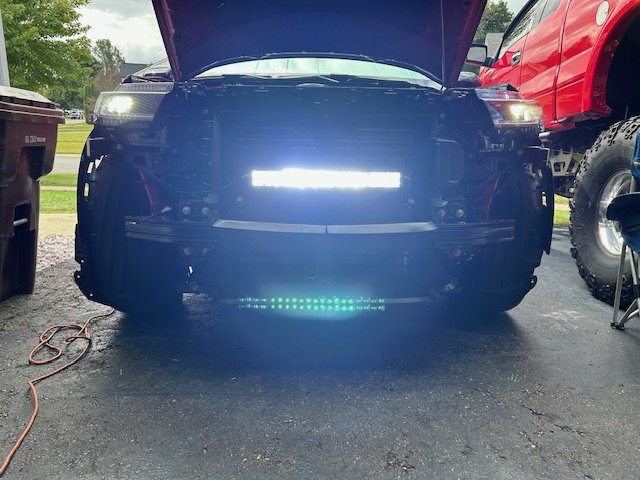
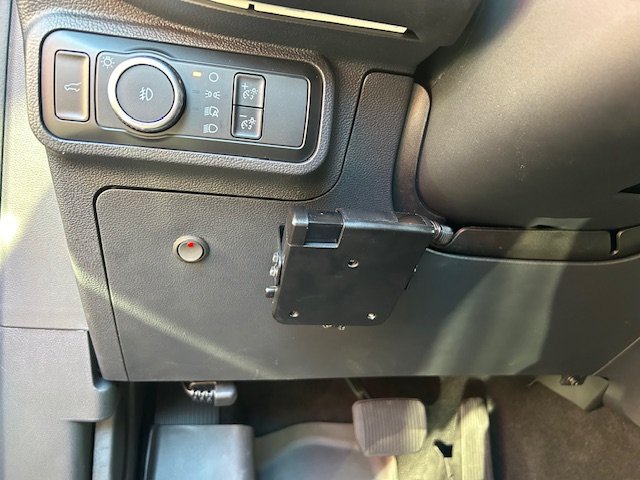
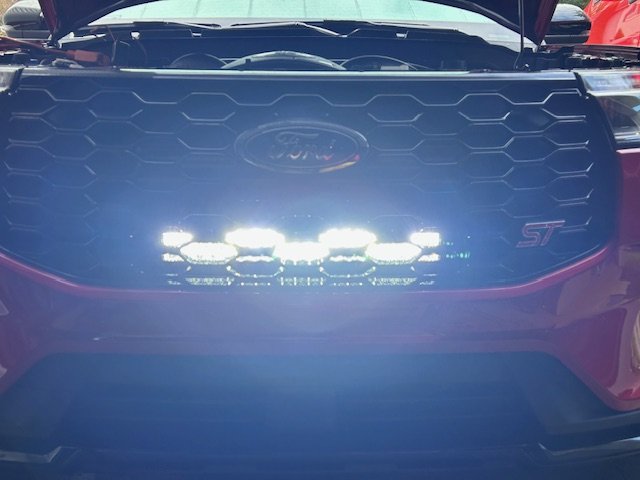
Hidden lightbar is installed and wired up complete. I went through the firewall rubber boot on the passenger side below the cabin air filter to pass the wires to the inside. That required removing the battery and the battery tray (complete PIA by the way). While I had the battery tray out, I added water drain holes in it and to the battery hold-down block as well. From there, I routed the wiring over to the drivers side and mounted the switch next to my trailer brake controller. The lightbar is wired through an ignition on power circuit in the fuse panel.
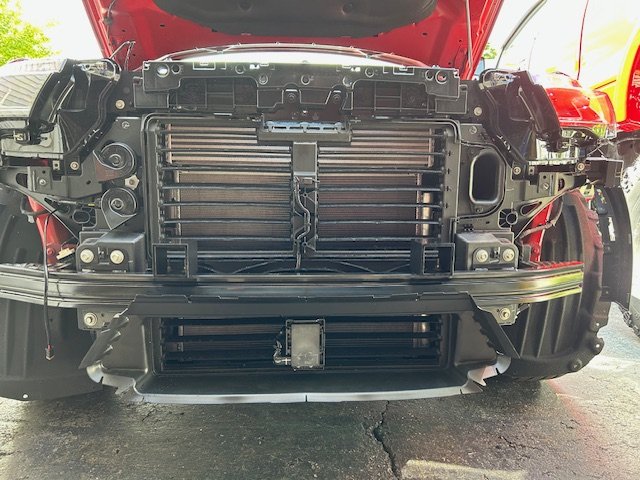
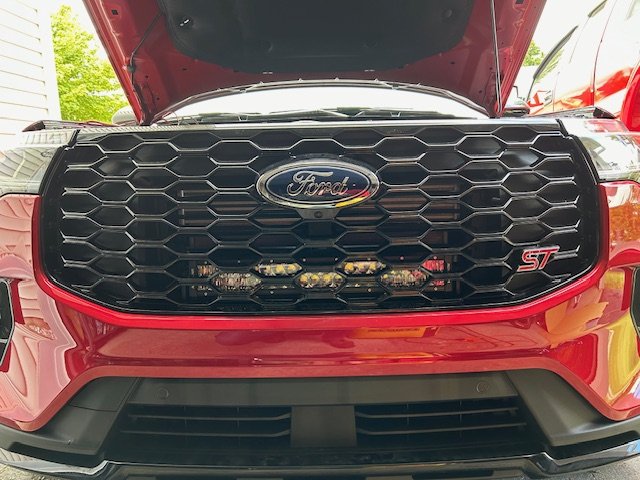
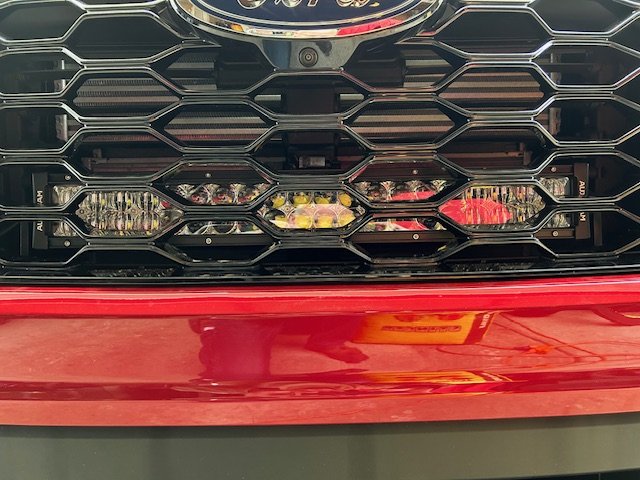
The 22" lightbar is mounted to 3" square x 1/4" thick walled aluminum tube pieces that I cut. These were needed to get the lighbar up to the height it needs to be at to pass light through the grille. The 3" aluminum square risers are drilled and mounted through the steel bumper with (2) 5/16" x 4 1/2" long stainless bolts each. Drilling through the bumper was a HUGE BITCH. It appears to be dual phase, 980 work hardened steel and it will destroy drills left and right. Drilling through the bumper was one of the largest issues I had. I do not recommend anyone try drilling through the bumper as I did!! My alternative suggestion would be to use (2) stainless U-bolts per each riser block that have the correct inside width and height of the bumper and that are also long enough to go through the riser blocks and allow washers and nuts to fully thread onto them.
I cut squares out of the radiator shroud so it would fit over the 3" risers. I also painted the risers for corrosion protection.
I need to wait until dark to aim the light bar up or down as needed before I put the front clip back on.
Attachments
-
201.9 KB Views: 61
-
81.9 KB Views: 53
-
98.5 KB Views: 59
-
183.6 KB Views: 59
-
219 KB Views: 56
-
87.7 KB Views: 55
-
213.2 KB Views: 63
-
190.3 KB Views: 67
-
119.9 KB Views: 77
Last edited:
-
3
- Show All
Front clip is back on and the hidden lightbar project is 100% complete on the 25' ST.
Attachments
-
207.1 KB Views: 61
-
206.8 KB Views: 62
-
135.1 KB Views: 60
Last edited:
-
2
- Show All
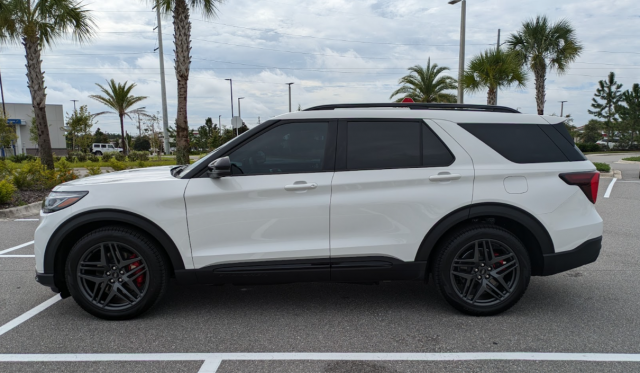
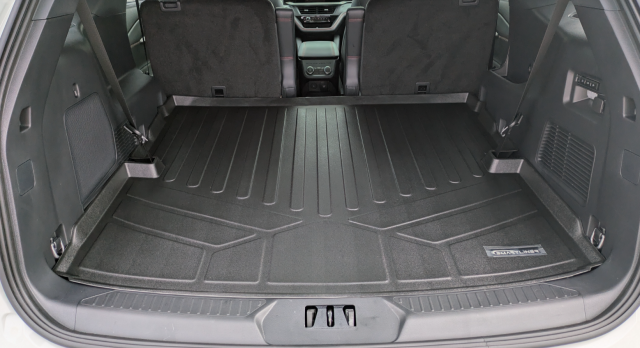
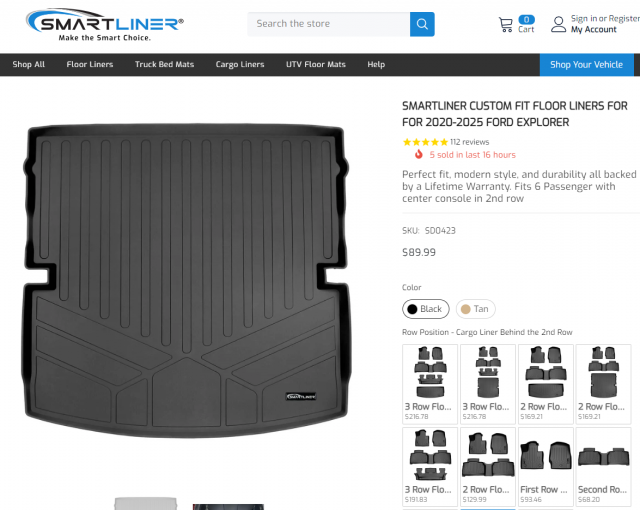
Just got XPEL XR Black ceramic 20% front doors and 70% everywhere else and also added the Smartliner cargo liner.
View attachment 25053
View attachment 25054
View attachment 25055
View attachment 25053
View attachment 25054
View attachment 25055
-
1
- Show All
Wow, that liner looks much better than my Weathertech. I like that it covers the 3rd row cup holders. We’ve opened the 3rd row once to be sure they worked. Other than that it’s strictly cargo. Those cup holders collect so much crap. Time to update the cargo liner.
https://www.smartliner-usa.com/prod...23-c0423-d0423-e0423-c?variant=31767189192813
-
3
- Show All
-
4
- Show All
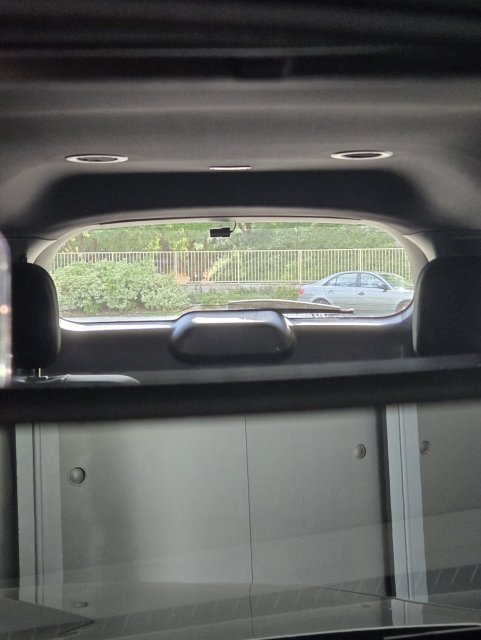
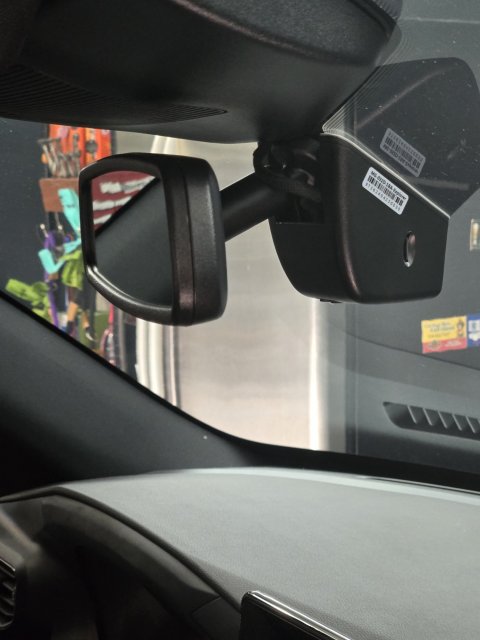
Installed front and rear dash cam, and power tap at the rain sensor. The hardest part was routing the wiring at the hatch to conceal it. The many threads on here helped a lot. Thanks to all
View attachment 25090 View attachment 25090

 View attachment 25090



View attachment 25090 View attachment 25090


 View attachment 25090


Last edited:
-
3
- Show All
Love it, works as described, and it's uncluttered
Amazon, https://www.amazon.com/gp/product/B0CW5697LG/ref=ppx_yo_dt_b_search_asin_title?ie=UTF8&psc=1
Amazon, https://www.amazon.com/gp/product/B0CW5697LG/ref=ppx_yo_dt_b_search_asin_title?ie=UTF8&psc=1
-
2
- Show All
Explorer ST Posts
-
2025 ST Brake Controller Connector
- Latest: BrooseDaMoose
-
-
-
-
-
-

