
-
Sign Up! To view all forums and unlock additional cool features
Welcome to the #1 Explorer ST Forum and Explorer ST community dedicated to Explorer ST owners and enthusiasts. Register for an account, it's free and it's easy, so don't hesitate to join the Explorer ST Forum today!
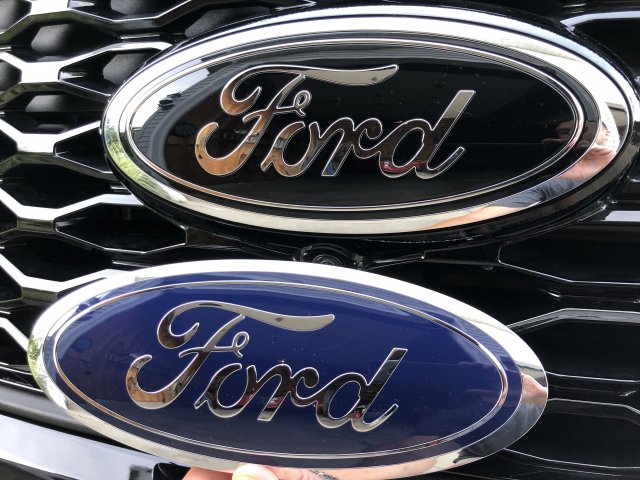
What is the easiest way to remove and replace the front grill Ford emblem on a 2021 ST?
- Thread starter Blackssr
- Start date
Thread Starter
#3
I actually used my 11 old niece Cassidy to get her arms in the slots below the Emblem and loosen the 10MM fake nuts. Hopefully she will be a future Gear Head. It took her about 20 minutes to get the Ratchet lined up. (I felt like the Mandalorian teaching Baby Yoda. LOL (1) Baby Yoda Tries to Fix it! Season 2x4 (cute Baby Yoda scene) - YouTube ) The same amount of time was required to install the new red unit. I took her for Ice Cream after and a speed run and we are good. !!! Child Labor works for me. It did cost me $11.00 at Carvel ;-(.. WTF?
Last edited:
-
 5
5
-
 1
1
- Show All
Thread Starter
#5
Where did you get the red Ford emblem?
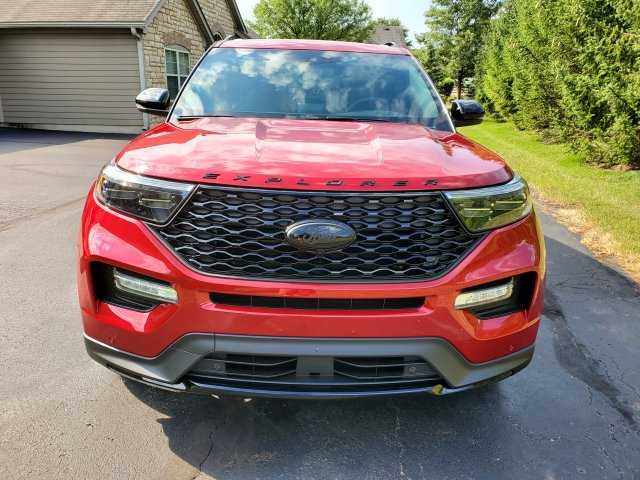
I applied it with a little bit of silicone and 3M emblem tape. I also put red pinstripe around the perimeter to kick it up a notch.
Has anyone had problems with paint peeling on aftermarket Ford emblems? I sure have seen a lot of original Ford emblems with all the blue gone...
Looking to do this while installing the IC when the weather warms a little more.
Looking to do this while installing the IC when the weather warms a little more.
-
4
- Show All
Any chance of a link to the black oval?
I'm still looking for the all black OEM emblems.
Check out FenFab.
He has the complete blacked out emblems.
https://fenfabrication.com/product-category/explorer-st/
He has the complete blacked out emblems.
https://fenfabrication.com/product-category/explorer-st/
Has anyone removed and replaced a 2021 Ford emblem on the front grille..I looked at it for about 20 minutes and cannot figure out the easiest way to get to it. Has anyone done this? Any tips would be greatly appreciated.
BocaDecals 2020-2025 Ford Explorer Logo Emblem Insert Decal Overlays (
https://accessories.ford.com/black-badging-ford-oval-explorer
This is the Ford OEM part. Ordered yesterday.
This is the Ford OEM part. Ordered yesterday.
https://accessories.ford.com/black-badging-ford-oval-explorer
This is the Ford OEM part. Ordered yesterday.
This is the Ford OEM part. Ordered yesterday.
Sent from my iPad using Tapatalk
No clue, I didn't really pay attention since mine's a '23. I would assume they're identical all the way back to '19. Ask your dealer's parts guy. Or perhaps someone else here has that info. Edwyer posted a link to an aftermarket supplier with the OEM parts that says 2020+. I could swear mine from Ford Accessories also said that, before they added the 2025 to the description. But, I make no promises, as I said, I didn't care, I have a '23.
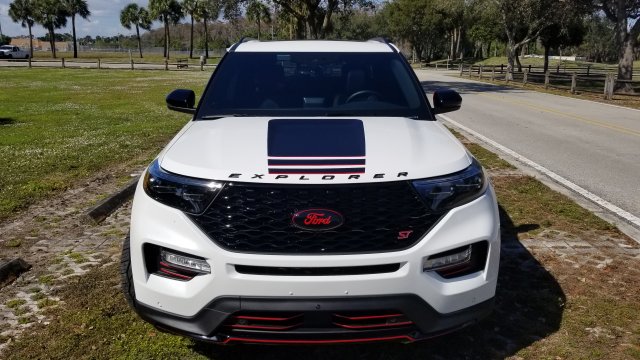
You'll find three ways in this forum to replace the front badge, however. Ford recommends pulling the front bumper cover and grill. Unbroken recommends drilling out the old studs, which pretty much only works if you have the template his non-OEM parts came with. He glued it on with the 3M tape, as I recall. I removed the top 10mm bolts, wedged wood between the plastic grill and steel frame it bolts onto, then was able to reach in and work. I recommend a 10mm flexible ratcheting wrench, works better for me than a socket on those crappy nuts. I also prethreaded the nuts onto the new piece. Made it easier when it came time to install because I could start by hand and be sure I was putting them on straight. Blackssr did it similarly to me, except got his niece to reach in and do the nuts.
Using the blocks, just watch for the front camera cable and be careful prying the grill. I was nervous I'd break it. But I pried it out 2" with no issues.
Last edited:
Explorer ST Posts
-
-
-

-
-

-

-

-
 Welcome to the Explorer ST Forum, please post an introduction
- Latest: Nascarbilly
-
